Introduction
this guide will show you how to set up a new Makelangelo 5, connect to a computer and unleash its full potential!
-
-
the window mounting kit with suction cups is available at https://www.marginallyclever.com/product...
-
Locate one of the corner holes for suction cups.
-
Press firmly with your thumb and twist the cup until the end fits into the wood.
-
Turn the tab outward for easy release later
-
Clean the glass and moisten the cup before attaching to glass. This will greatly increase the holding power.
-
-
-
Moist all 4 suction cups and press the main board against a vertical,flat and clean window or glass.
-
Try to place Makelangelo as level as possible, at least 110cm (44") above any interference (such as a window frame)
-
-
-
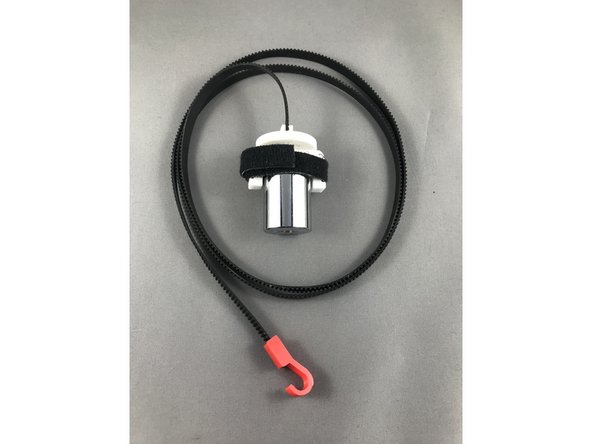
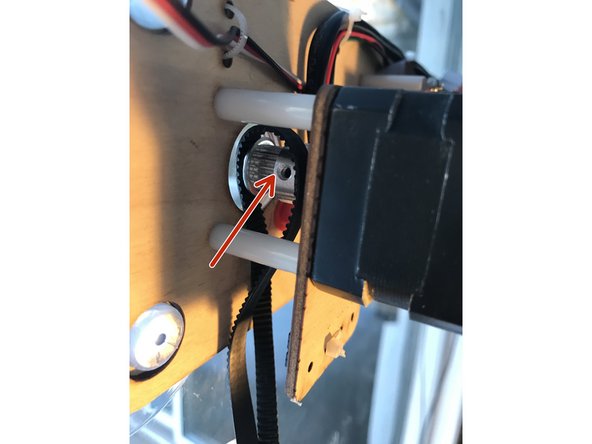
Prepare a 1m belt with the counterweight and insert it onto motor pinion gear. Try approaching the pinion gear sideways as shown in the picture for easy belt installation.
-
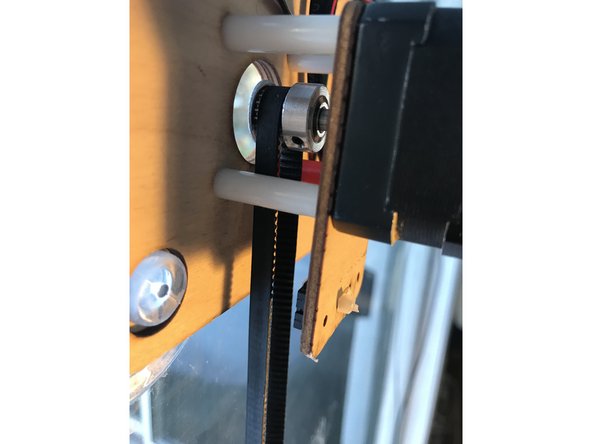
Make sure the belt sits firm on the pinion gear.
-
-
-
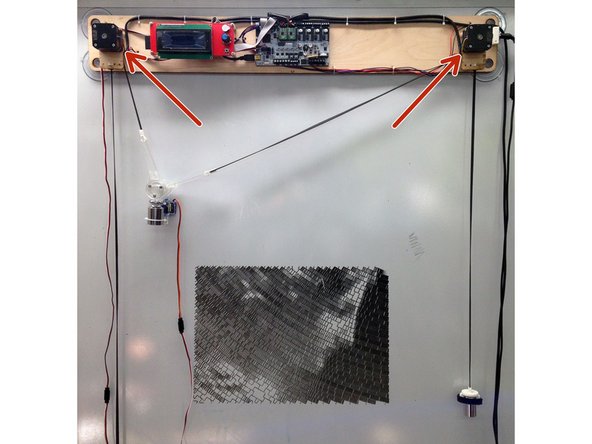
Install one belt on each of the two pinions.
-
-
-
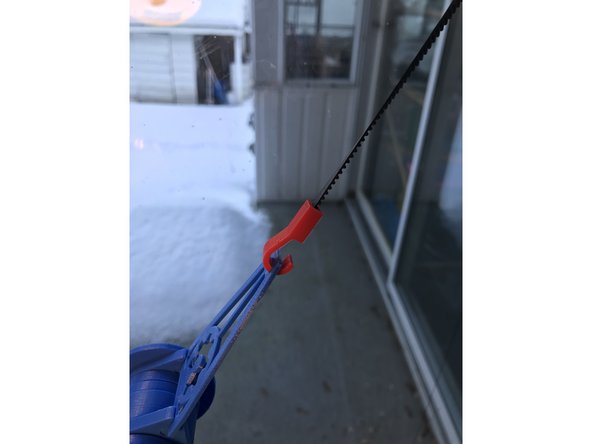
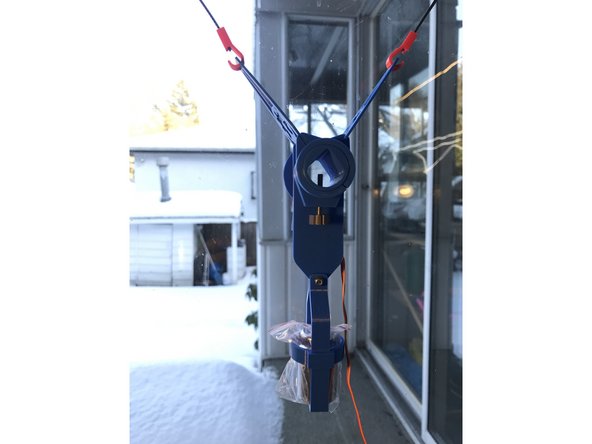
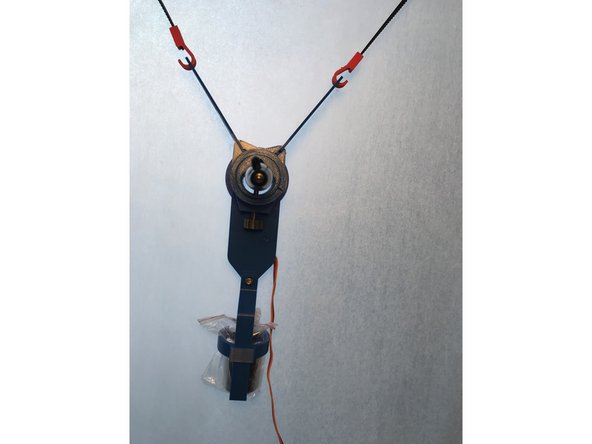
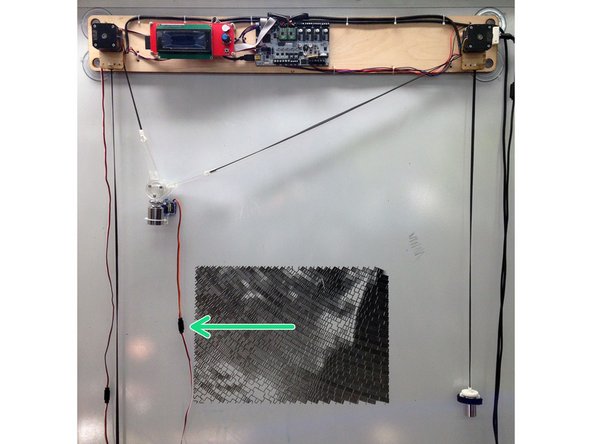
Connect weights to pen holder arms using provided hooks.
-
Make sure arms move smoothly when running, if not, sand down the contacting surface of arm rings.
-
-
-
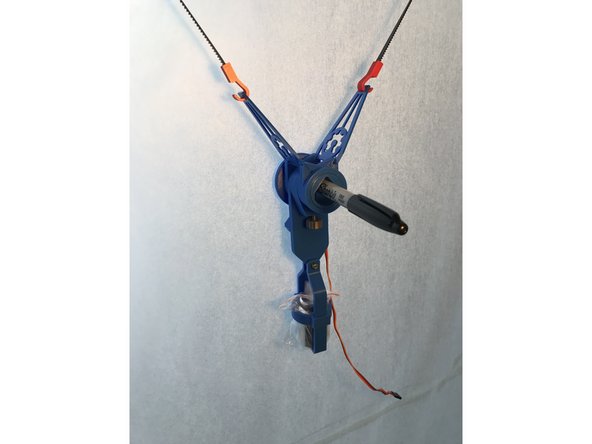
Slide in a sharpie and secure it with the screw. The tip should be pointing out just enough to touch painting surface when mini-servo is not in the extended position
-
notice how the end of the nib and the flat of the pen holder are co-planar.
-
-
-
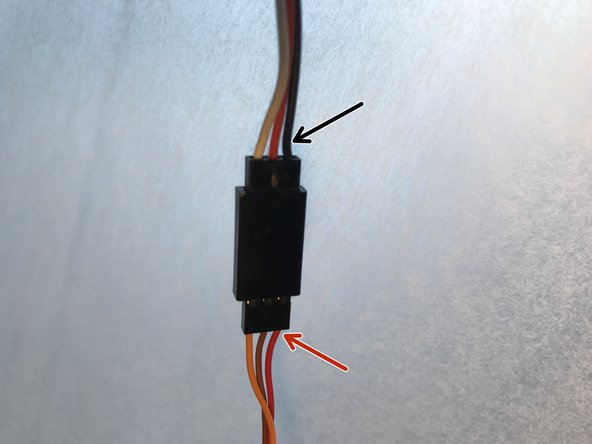
Connect servo cable.
-
Make sure the BLACK wire of the extension cable matches the RED wire of the servo.
-
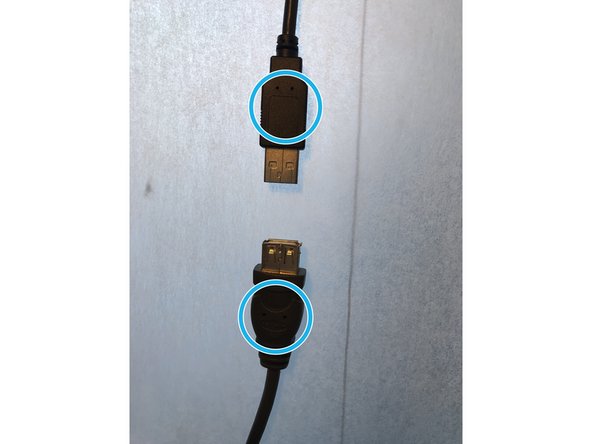
Connect the USB cable for your first run. Remember: The "top" side of a USB connector always has the USB logo.
-
Start drawing!
-