Introduction
Unbox, assemble, mount, home, and draw with your Makelangelo 6 or Huge.
-
-
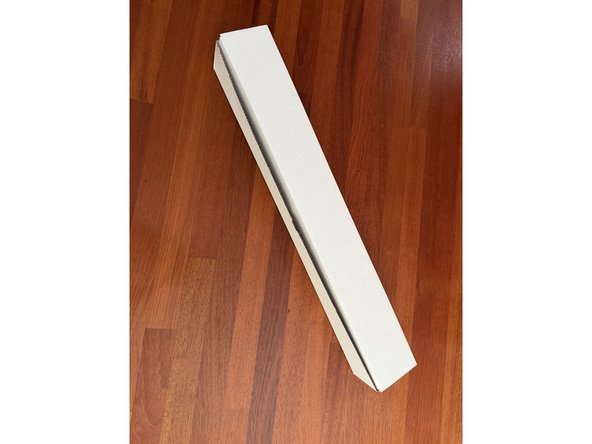
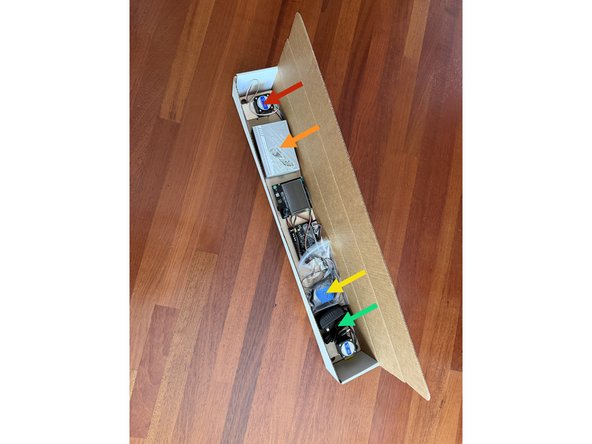
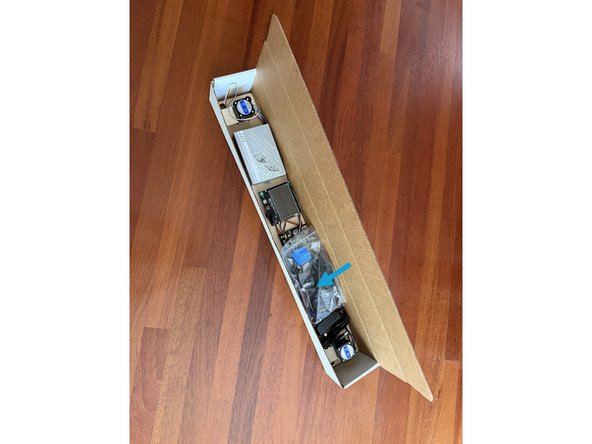
Your Makelangelo 6 should contain one robot,
-
One bag labelled "6",
-
One pen holder box
-
If you have purchased the Huge there should also be a bag labelled "H" and the lasercut huge extension under the robot.
-
Depending on your purchase options you might also have a 12v2a power supply.
-
There may also be packing paper to fill the space and
-
a copy of your receipt. (not shown)
-
-
-
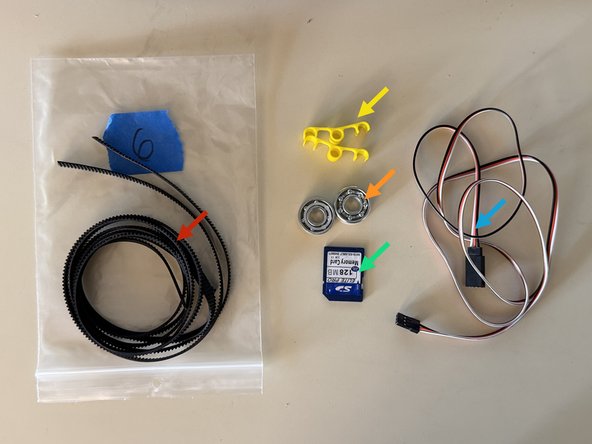
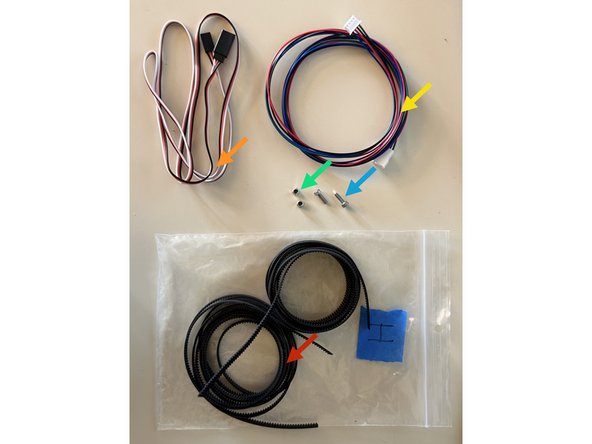
Two pieces of 1m x 6mm timing belt
-
Two JST servo extension cables (white/red/black)
-
One SD card
-
Two 608 bearings
-
Two bearing retainer clips
-
-
-
Two pieces of 2m x 6mm timing belt
-
One servo extension cable (white/red/black);
-
One motor extension cable;
-
Two M3x10 screws;
-
Two M3 nylock nuts
-
-
-
Disconnect the left motor wire from the control board.
-
Undo the two fasteners holding the left and right sides of the Makelangelo 6 together and save them for later.
-
Use the screws and nuts from the H bag to attach the left side to the extension bar.
-
Use the screws and nuts saved from earlier to attach the extension bar to the right side of the Makelangelo 6.
-
Attach the extension cable from the H bag to the motor and then to the control board.
-
-
-
Connect the servo extension cables to each other to form a longer cable.
-
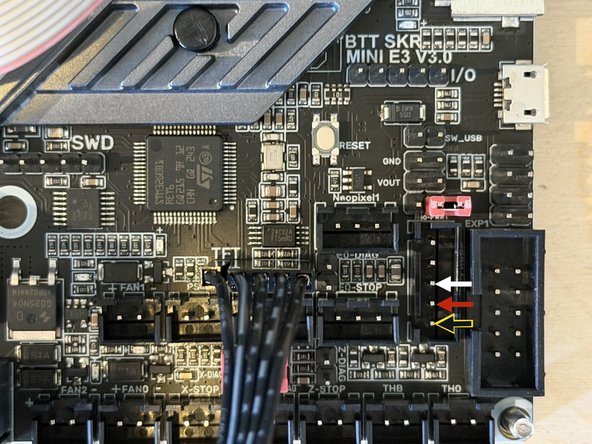
One end of the servo extension cable connects to the BTT control board at the NEO-PIXEL connector. The white wire should connect to the middle pin. The black wire should be at the bottom-most pin.
-
The other end of the servo extension cable connects to the pen holder servo. Black to black, white to yellow/orange.
-
-
-
If you are using a Huge, use only 2m belt. If you are using a Makelangelo 6, use only 1m belt.
-
You will find most of these parts in the pen holder box.
-
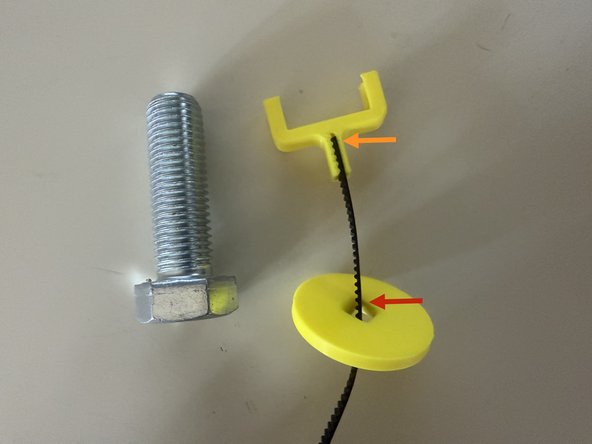
Pass one end of the timing belt through the counterweight disc. Note the curved edge inside the disc.
-
Press one end of a timing belt into the counterweight clip.
-
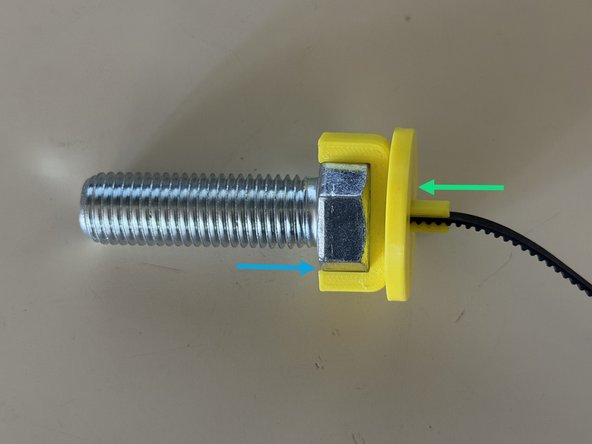
Press the disc down onto the clip, locking the belt in place.
-
Insert one M16x50 bolt into the counterweight clip.
-
Do this process again for the second belt.
-
-
-
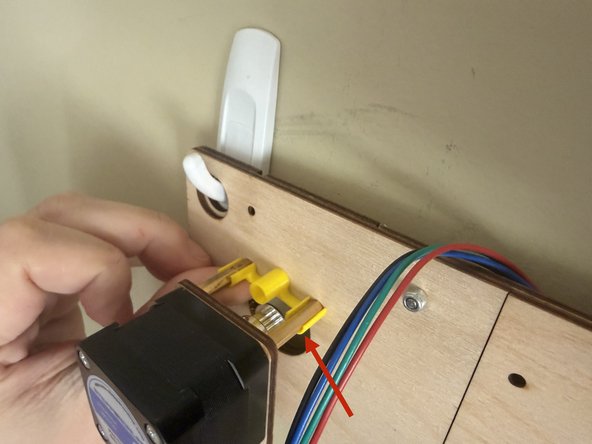
Slip the bearing retainer between the motor pulley and the brass standoffs.
-
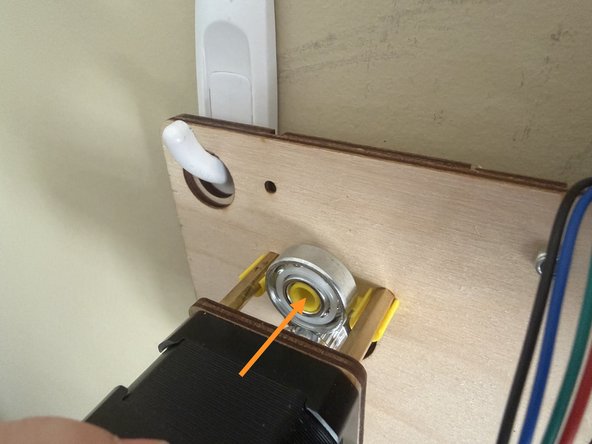
Insert the 608 bearing onto the bearing retainer. The bearing should sit in the groove of the pulley, holding the tensioner in place.
-
Do this on both sides of the Makelangelo
-
-
-
Regardless of mounting surface, make sure there is enough vertical room for the counterweights to descend without hitting anything.
-
For windows, use the window mounting kit (sold separately). Moistening the suction cups will greatly improve the hold time.
-
For whiteboards, use the whiteboard mounting kit (sold separately).
-
For plain walls, 3M medium mounting hooks are an easy solution that do not damage the wall.
-
Make sure your machine is mounted level to the floor. Install one half of your mounting system, put the the robot on the mount, and then level the machine to find the right spot for the second mount.
-
-
-
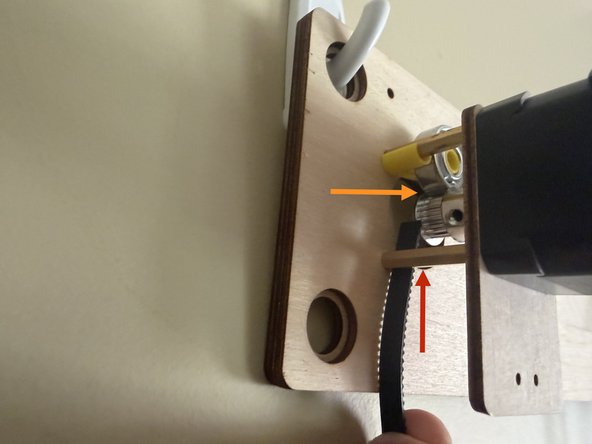
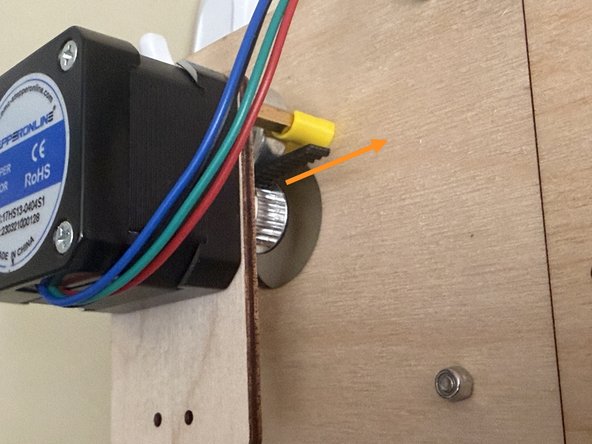
Feed the unattached end of the timing belt up through the outside of a motor mount,
-
between the pulley and the bearing,
-
and down to the pen holder. Pull the timing belt through the motor slowly to not generate a current.
-
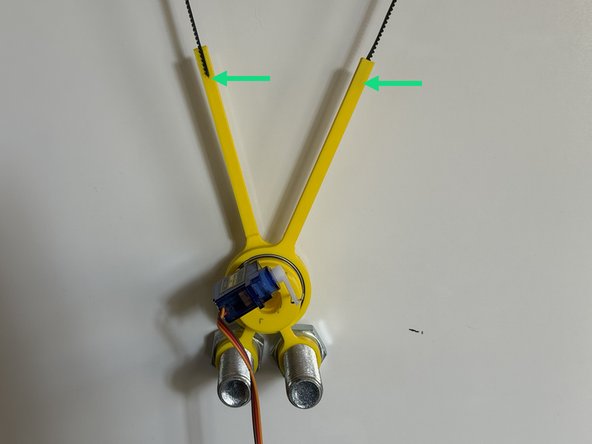
Each arm of the pen holder has a groove which matches the timing belt. Press the belt into the pen holder arm.
-
Make sure the belt is not twisted.
-
Repeat this action on the other side of the machine, mirrored so that both belts make a big "M" shape with the pen holder in the middle.
-
-
-
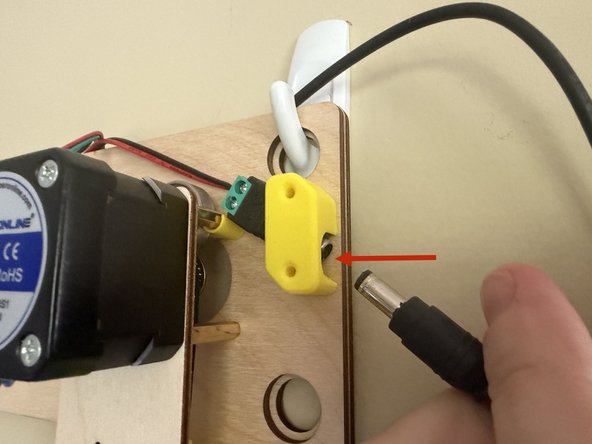
Your 12v2a power supply connects on the right side of the machine.
-
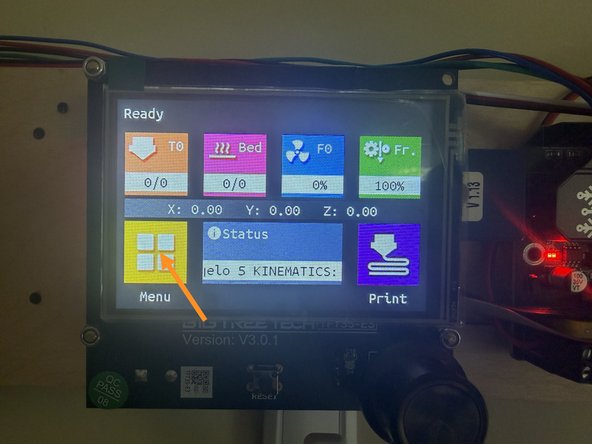
The LCD Panel should turn on and flash the Marginally Clever logo. A few moments later it should display the main menu.
-
Now might be a good time to peel the protective stricker off the LCD panel
-
Use the touch screen to select
menu > movement > home > home. The counterweights should move up until they touch the machine. -
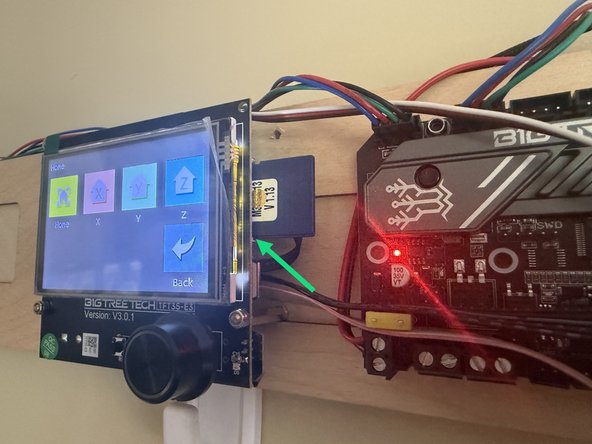
Insert an SD card with your drawing on the right side of the LCD panel. Select
print > TFT SD > [your file]and follow on screen instructions. Note which way the SD card faces.
-
Conrgatulations! Now draw cool stuff and share it in the Discord channel for everyone to enjoy.
Conrgatulations! Now draw cool stuff and share it in the Discord channel for everyone to enjoy.
