Difficulty
Moderate
Steps
8
Time Required
00:10:00 - 00:15:00

In Progress
This guide is currently being written. Reload periodically to see the latest changes.
Quiz
0
-
-
Download the stable release from https://www.marginallyclever.com/product...
-
The pricing is optional. You can choose a price of $0. Your generosity helps us make it great.
-
The download link will appear on the checkout page...
-
...and in your order confirmation email.
-
-
-
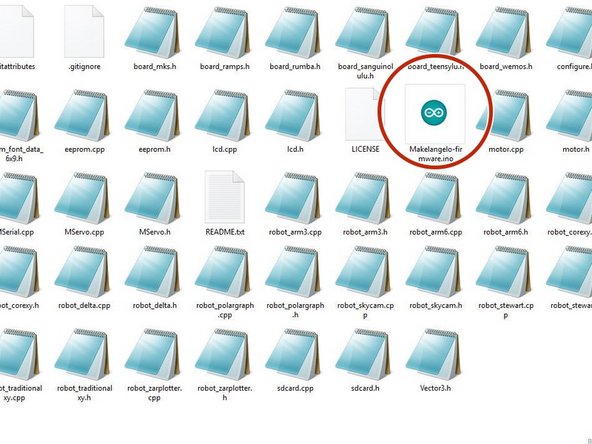
Extract the zip file downloaded from the link into a folder called Makelangelo-firmware
-
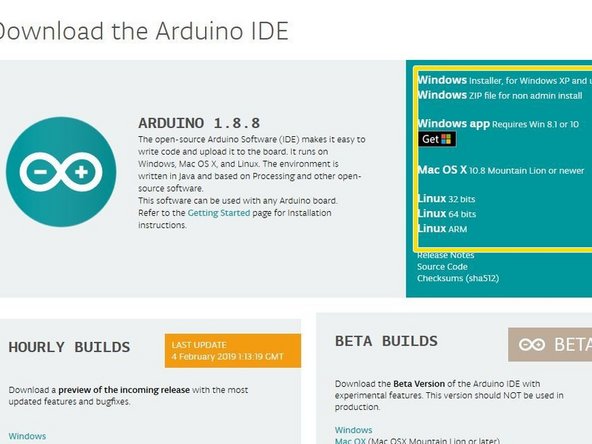
Go into the folder and open Makelangelo-firmware.ino with the Arduino app
-
The Arduino app is available from https://www.arduino.cc/en/Main/Software
-
-
-
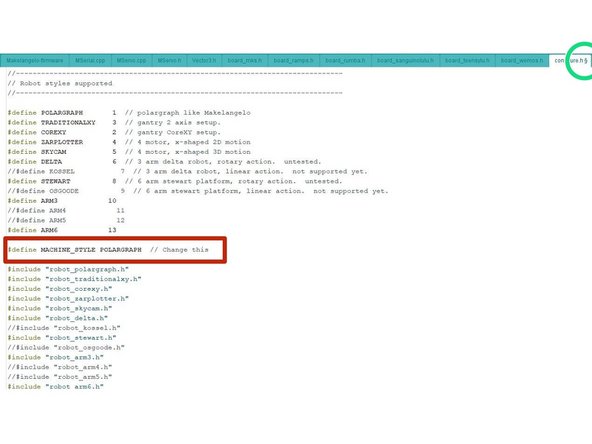
Confirm that in the tab configure.h, the line reads #define MACHINE_STYLE POLARGRAPH. This firmware runs on many styles of robots and this sets the correct style.
-
You can find more tabs in the drop down on the right
-
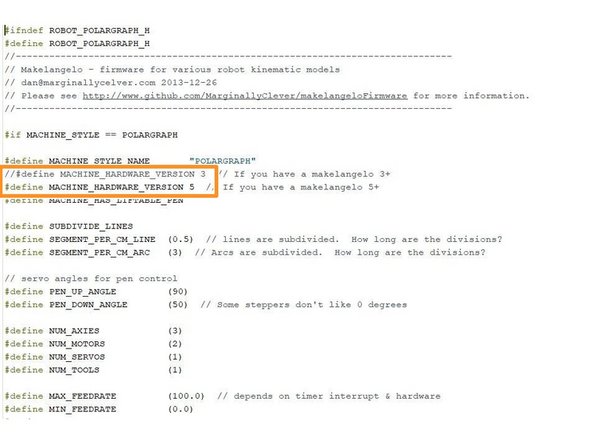
Confirm that in tab robot_polargraph.h, your machine hardware version is selected. In this example, a version 5 is selected because it does not have the // at the start of the line.
-
-
-
Connect the USB from your computer to your robot.
-
Connect the 12v2a power supply to your robot.
-
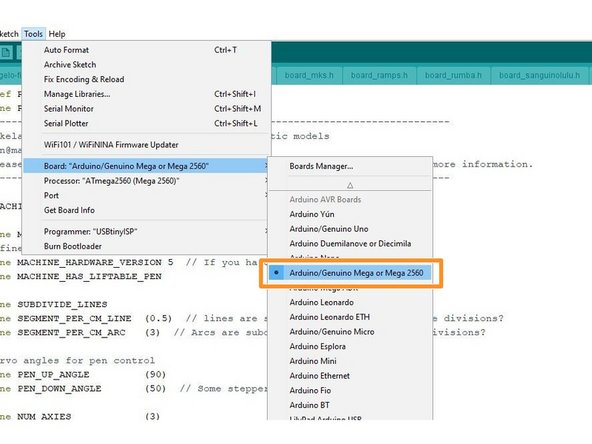
In Arduino, set Tools > Board to Mega 2560
-
set Tools > Port to the port that says Mega 2560. This name is slightly different for OSX and Linux users.
-
If you do not see any com port, don't panic. Read the next step.
-
-
-
If you already see the COM port, you can ignore this step.
-
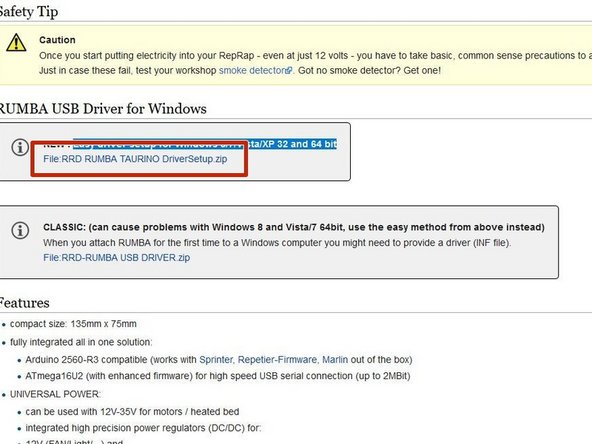
You may be missing the drivers, which can be downloaded from https://reprap.org/wiki/RUMBA#RUMBA_USB_... . The recomended method is the Easy driver setup for Windows 8/7/Vista/XP 32 and 64 bit
-
After driver installation if you still don't see the COM port, try rebooting your PC.
-
Suddenly disconnecting power while your PC is talking to your robot scares Windows. It will hide the COM port until after a reboot as a precaution.
-
-
-
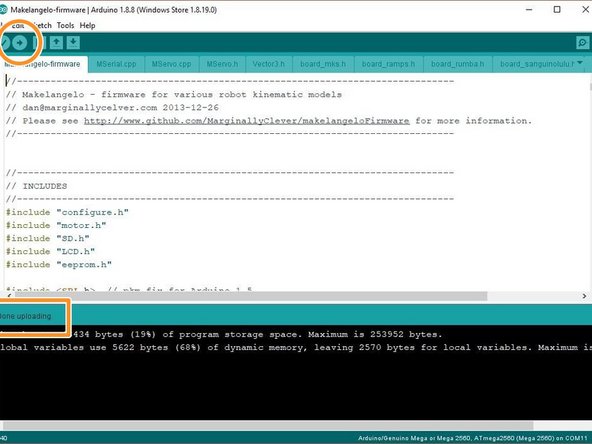
Click the upload button. The app will say "Compiling..." and then "Uploading..."
-
When finished OK, it will say Done uploading.
-
For all other results, please copy all the text in the orange text in the fail message and post it to our support forums at https://www.marginallyclever.com/forums/...
-
-
-
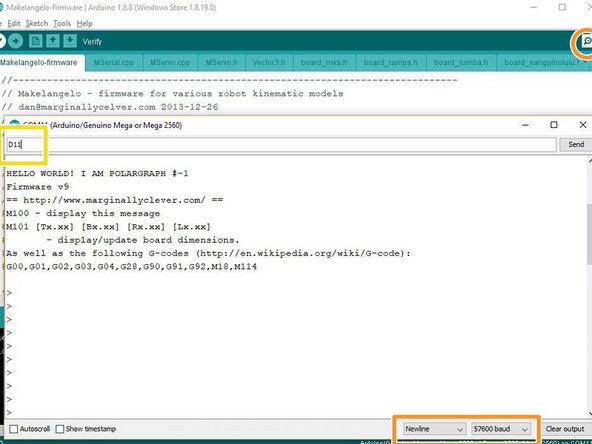
Click the Serial Window icon in the top right (looks like a magnifying glass)
-
Confirm the dropdowns says newline and 57600 baud. HELLO WORLD! text should appear in the window.
-
In the text field at the top type D11 (uppercase) and hit enter or click Send. The status window should say Saving dimensions. Saving calibration. Saving home.
-
-
-
abd
-