
Difficulty
Easy
Steps
6
Time Required
00:10:00 - 00:15:00
- How to assemble Sixi 3 actuator 6 steps

In Progress
This guide is currently being written. Reload periodically to see the latest changes.
Quiz
0
Introduction
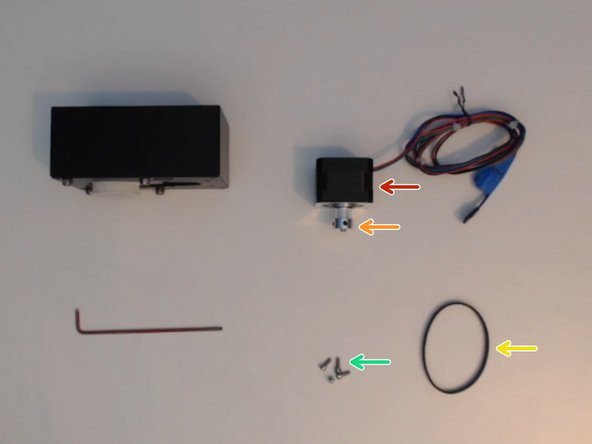
Orange output piece not included.
Tools
Parts
No parts specified.
-
-
-
one of each, printed at 20% infill with supports "from bed only"
-
-
-
You will need the gearbox,
-
4pc M4 screws
-
4pc M4 nylock nuts
-
The core 3d print
-
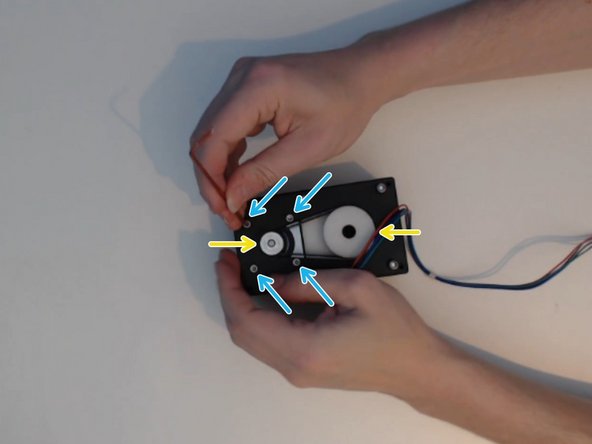
put the screws into the gearbox, place the gearbox in the core, and start the nuts by hand.
-
rest the core on a flat surface and use pliers to stop the nut from turning. A socket driver will also work.
-
Use the M4 alan key to reach into the core and tighten the M4 screw.
-
Hand tighten only! A drill can be too aggressive and damage your gearbox.
-
-
-
Get the NEMA17 stepper motor
-
attach the pulley to the gearbox if it is not already done. The pulley tightens onto the motor shaft with an Alan key. At least one of the set screws should be on the flat side of the shaft.
-
Gently feed the stepper motor wire through the hole in the core.
-
Fit the timing belt over both pulleys.
-
Insert the four M3x8 screws and tighten with the M3 Alan key.
-
-
-
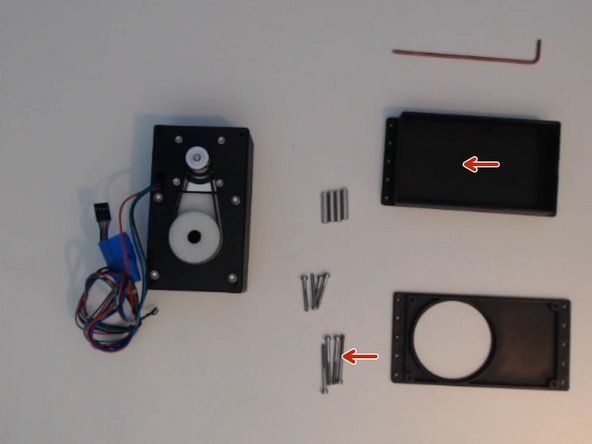
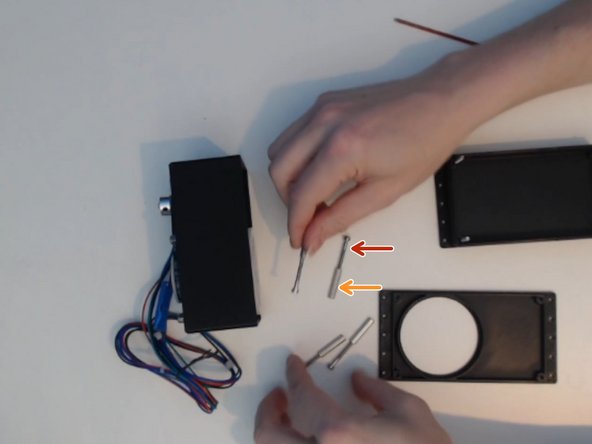
Insert the M3x35 screws into the back plate
-
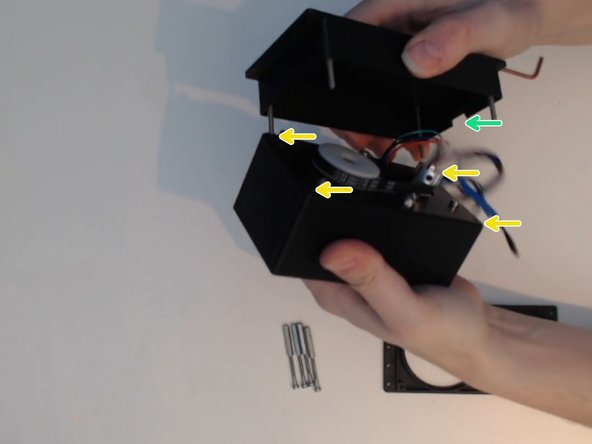
put the back plate over the timing belt so that the M3x35 screws go through the matching holes.
-
Make sure the stepper motor wire fits in the groove on the back plate. Don't crush or pinch the wire.
-
-
-
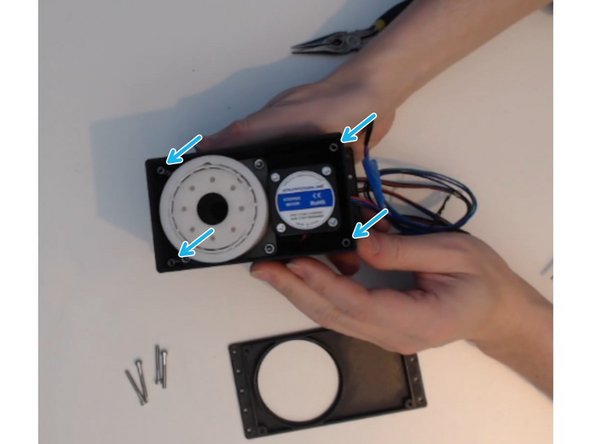
Get one M3x25 screw
-
and attach it to one spacer. it only needs a few turns. Do this four times.
-
There is a slot in each corner of the core made to fit a spacer. The screw helps hold the spacer in place.
-
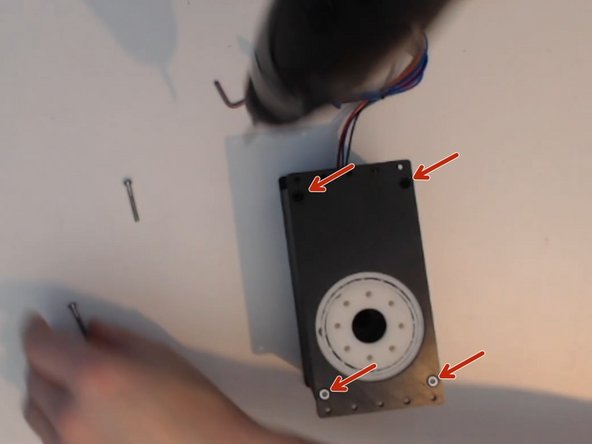
Tighten the M3x35 screw. The screw will stay in place and pull the spacer into the slot.
-
Remove the M3x25 screw.
-
Repeat for all four corners.
-
-
-
Fit the output plate over the gearbox and install the four M3x25 screws.
-
Do not overtighten! Beginners should not use a drill. Overtightening will drive the screw through the plastic and ruin the 3D print.
-


One actuator done! Huzzah!
One actuator done! Huzzah!
