-
-
Assembled 4,5 & 6 Axis {a.k.a Forearm}
-
Assembled Elbow Gearbox
-
Assembled Shoulder Gearbox
-
Cable Management parts
-
Alan Keys
-
Socket Head Driver
-
-
-
Prepare the following components:
-
Assembled Forearm & Elbow Gearbox
-
[3D] - 3GB Elbow GB Top Cap
-
[3D] - 3GB Elbow Magnet Holder Bottom
-
8x2.5mm Neodymium Magnet
-
M3x8mm Screws (x2)
-
M3x45mm Screws (x7)
-
M3 Nylock Nuts (x9)
-
-
-
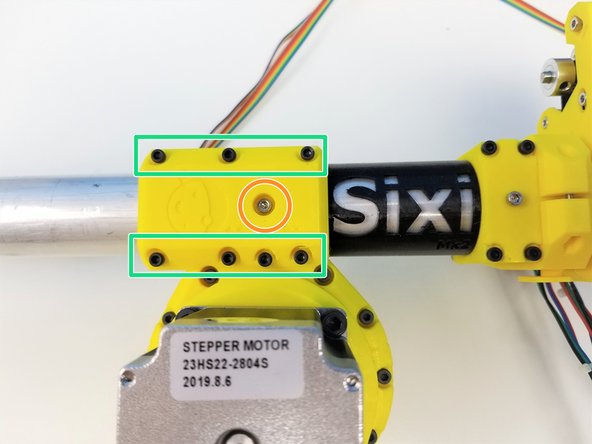
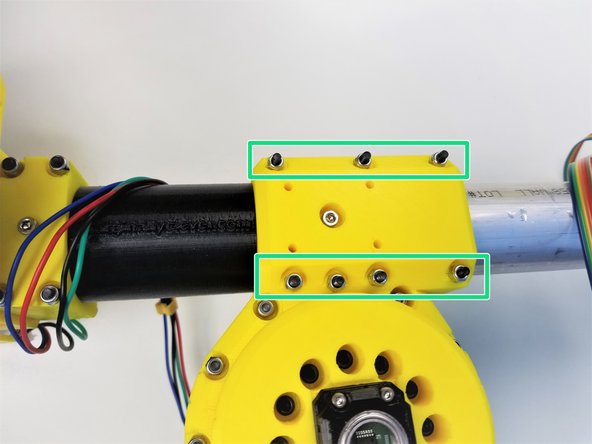
Loosely secure the Elbow Gearbox {half} to Forearm using M3x8mm Screw
-
Repeat the same for the Elbow Gearbox Clamp on the other side using M3x8mm Screw
-
Tightly secure both Elbow Gearbox pieces using M3x45mm Screws and M3 Nylock Nuts
-
-
-
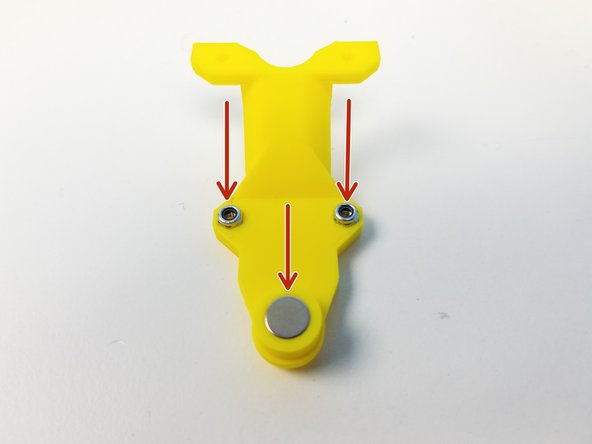
Insert M3 Nylock Nuts and Neodymium Magnet into the Elbow Magnet Holder Bottom
-
Insert the Elbow Magnet Holder to the 6701 Bearing on the Elbow Sensor Adapter
-
-
-
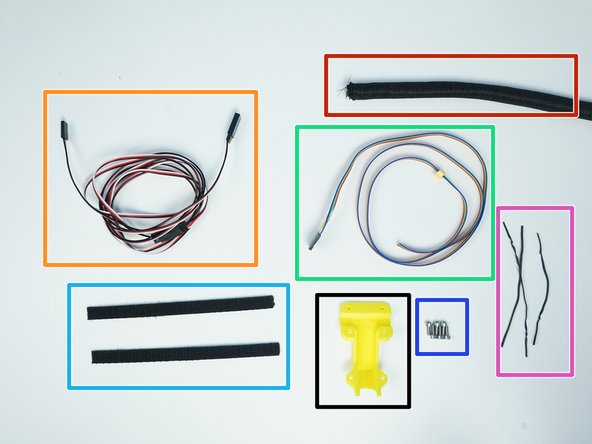
Prepare the following additional components:
-
[3D] - 3GB Elbow Magnet Holder Top
-
Braided Cable Sleeve [950mm]
-
3-pin Servo Extension Cable M/F - [1000mm] (x2) {already connected to each other}
-
6-pin Ribbon Cable F/O - Brown to Blue {sensor 2 Elbow} - [890mm]
-
Velcro Wrap [150mm] (x2)
-
M3x8mm Screws (x6)
-
[Opt.] - Twist Tie [100mm] (x3)
-
-
-
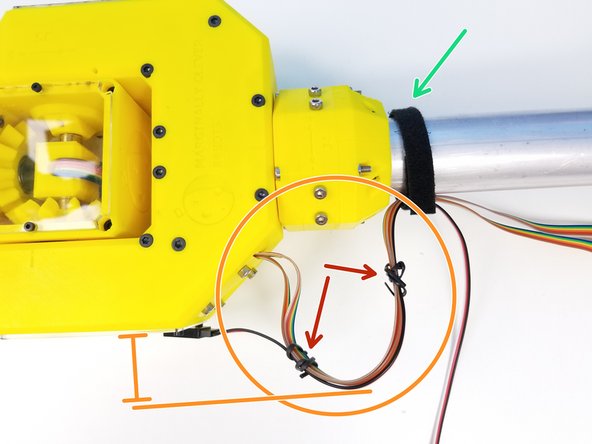
Secure the Servo Extension Cable to the Wrist & Hand Sensor Cables using the Twist Ties
-
Make a curve with the cables so that the ++peak of the curve is about thumb length away from the Fork face
-
Maintain this curve/bend using the first Velcro
-
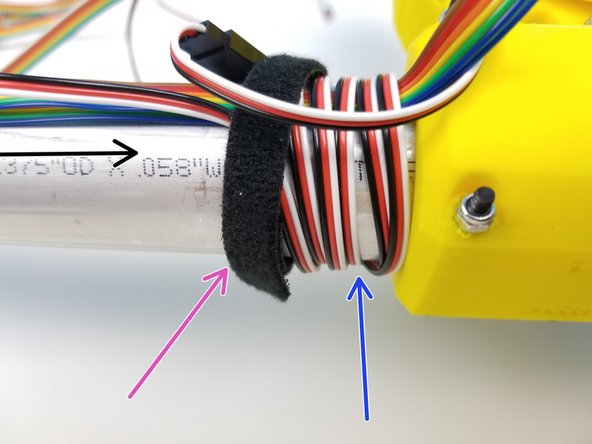
Run the cables along the Forearm Link tightly all the way to the Elbow
-
Loop Servo Extension Cables 5 times around the Forearm by Elbow Clamp
-
Secure this loop using the other Velcro
-
-
-
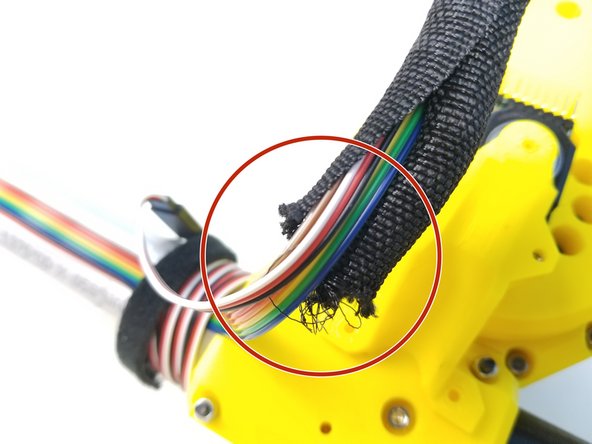
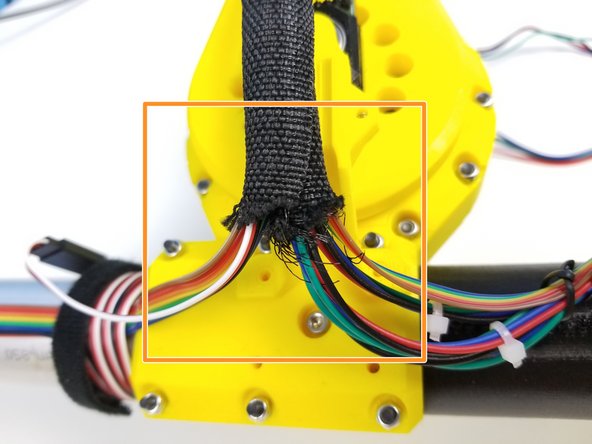
Insert all the Cables on the Forearm to the Braided Cable Sleeve at the top of the Elbow Sensor Holder
-
Insert all the Elbow Tail Motor Cables and Ulna Sensor Cables to the Braided Cable Sleeve as well.
-
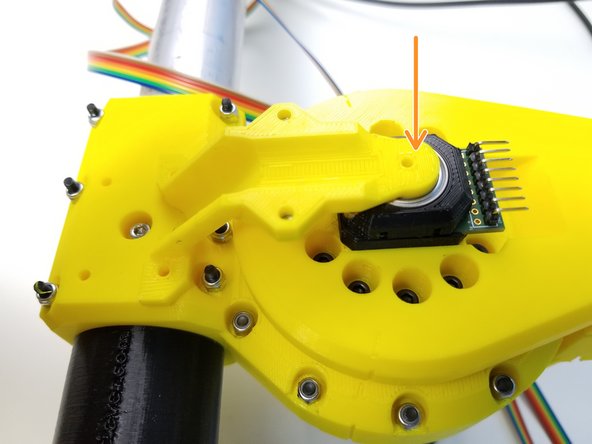
Hide the messy part of the Cable Sleeve with Elbow Magnet Holder Top using M3x8mm Screws
-
-
-
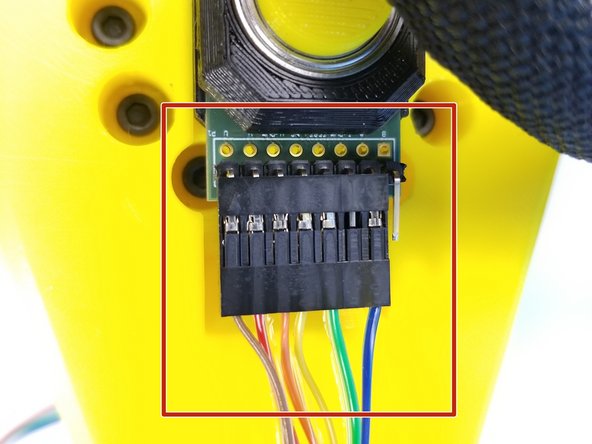
Connect Elbow Sensor Cable to the Sensor as shown in the picture
-
Insert the Elbow Sensor Cable in the Braided Cable Sleeve
-
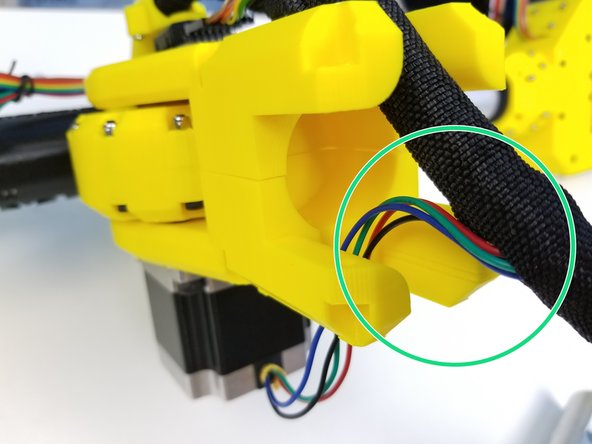
Insert the Elbow Motor Cable into the Braided Cable Sleeve as well
-
-
-
Prepare the following components:
-
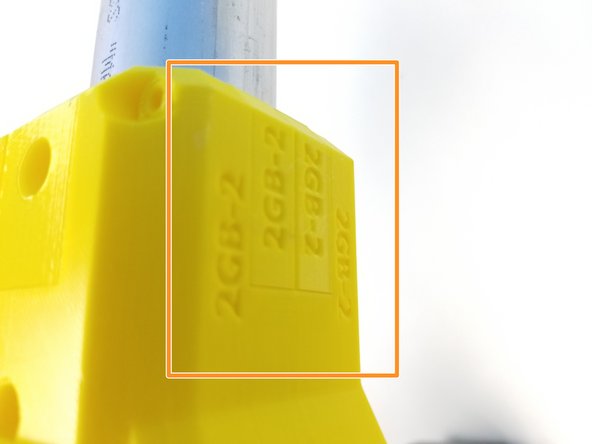
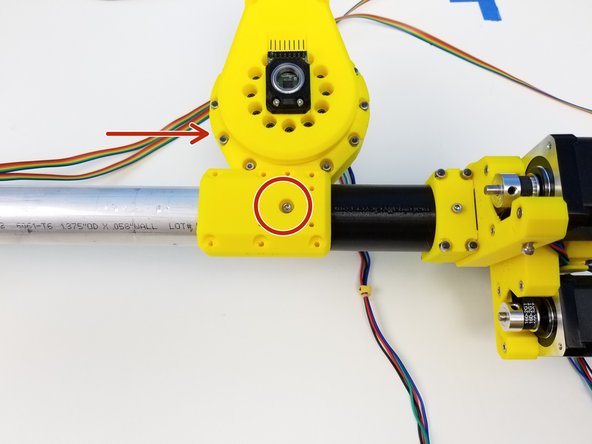
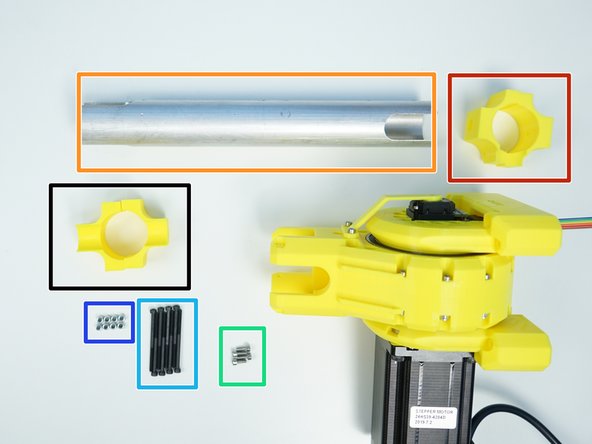
[3D] - 3GB Elbow GB Bottom Caps
-
[3D] - 2GB Shoulder GB Top Caps
-
Aluminium Pipe [1.375'x260.25mm]
-
M3x8mm Screws (x4)
-
M3x45mm Screws (x8)
-
M3 Nylock Nuts (x8)
-
Single U-Cut end is the Shoulder Gearbox End
-
-
-
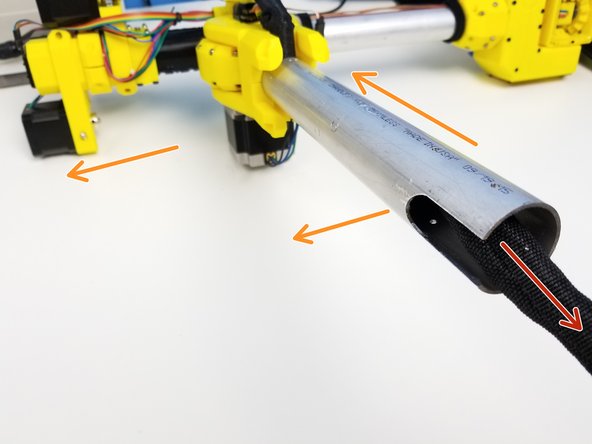
Insert the Cable Sleeve through the Pipe
-
Insert the Pipe into the Elbow Gearbox Bottom
-
The Bottom Single U-cut is facing the Elbow Tail {Forearm Motors}
-
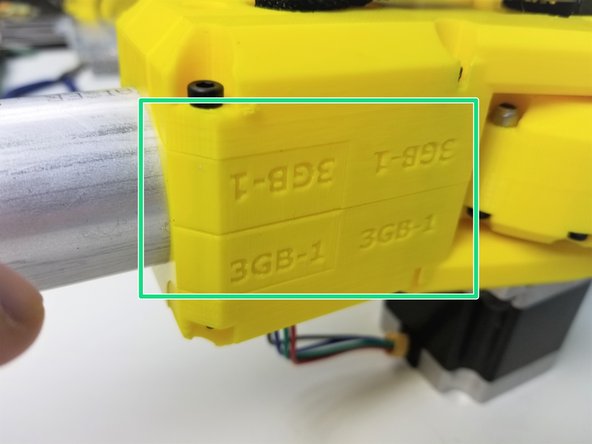
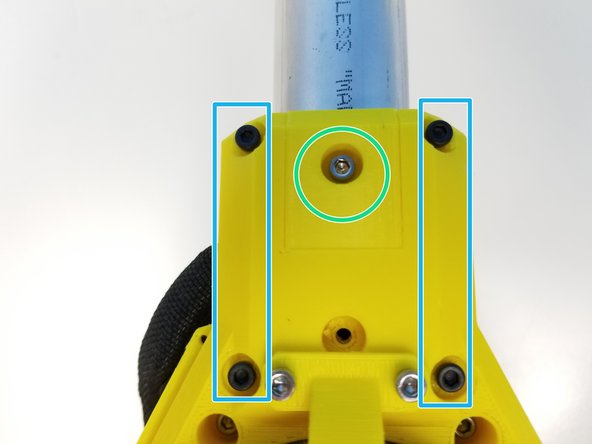
Align the Elbow Bottom Caps as shown in the picture
-
Secure the alignment with M3x8mm Screws
-
Tighten the Pipe using the M3x45mm Screws and M3 Nylock Nuts
-
-
-
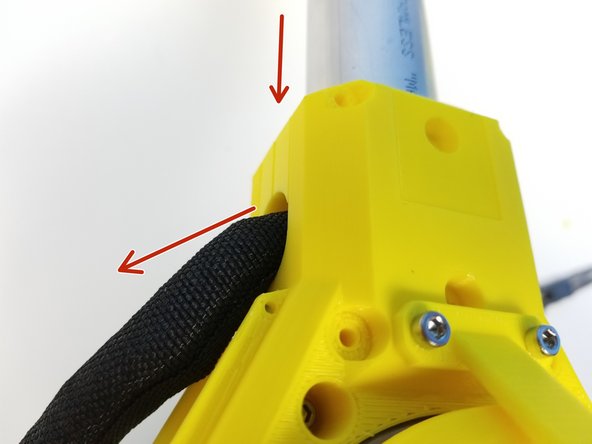
Insert the Pipe into the Shoulder Gearbox and pull the Braided Cable Sleeve out
-
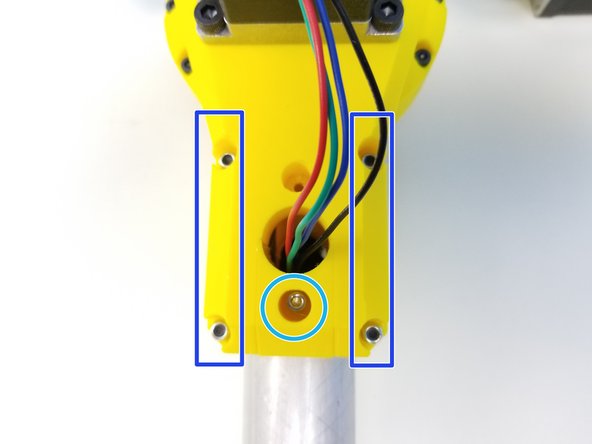
Align the Shoulder Top Cap as shown in the picutre
-
Align the Cap using M3x8mm Screws on both side
-
Tighten the Pipe using the M3x45mm Screws and M3 Nylock Nuts
-
-
-
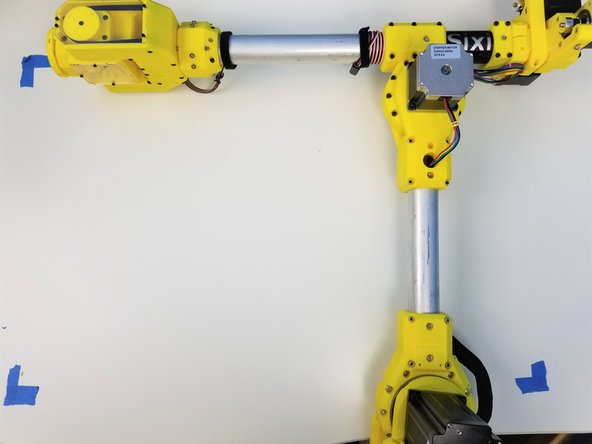
Congratulation!!! You are so close, Get the Anchor and we will be ready to test!!
-
Cancel: I did not complete this guide.
One other person completed this guide.




![[3D] - 3GB Elbow GB Bottom Caps](https://d3t0tbmlie281e.cloudfront.net/igi/mcr/j65qJYuN4PZIbv1a.medium)
