![[old] Counter Weight and Belt Assembly](https://d3t0tbmlie281e.cloudfront.net/igi/mcr/PvLkwxKZn2dBufNr.medium)
Introduction
This guide is for Makelangelo 3, 3.3, and 5.
-
-
10x1cm of velcro
-
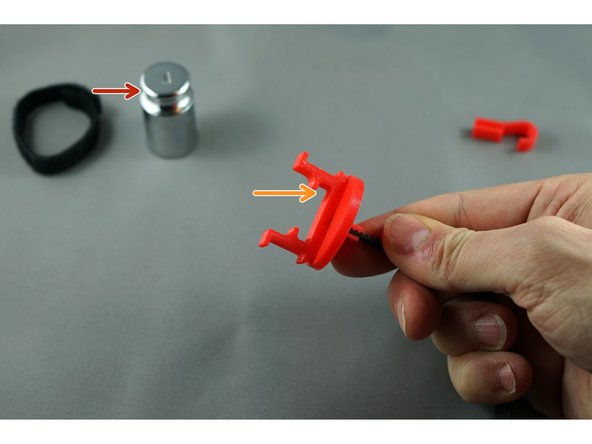
100g weight
-
Y clip
-
Switch disc
-
Hook
-
GT2 timing belt
-
Makelangelo robots have the exact same parts on two sides of the machine so get TWO of everything.
-
-
-
Feed one end of the belt through the disc.
-
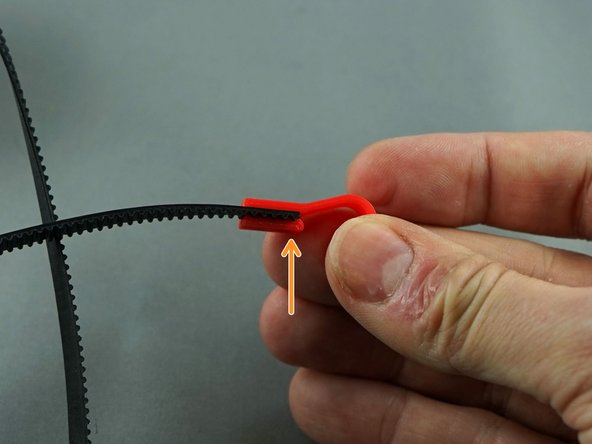
Make sure the last tooth of the belt is completely into the Y clip.
-
Press the belt into the groove. it is supposed to be a snug fit.
-
Bring the disc in and press it over the Y clip so that the long side of the slot is pressed against the belt.
-
-
-
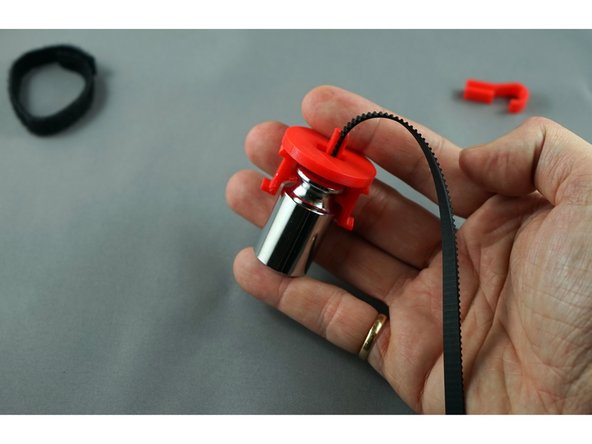
The groove of the 100g weight...
-
...fits into the mating section of the Y clip.
-
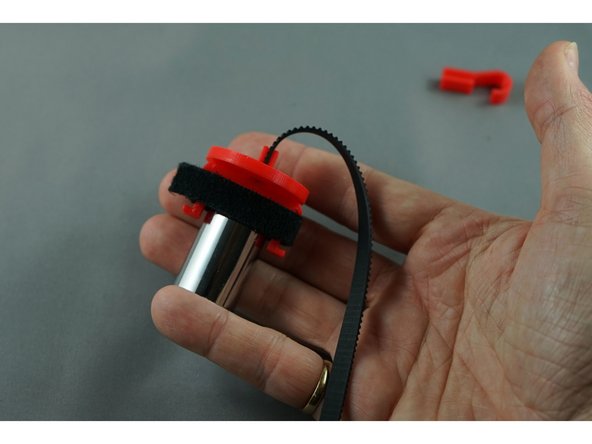
Then wrap the velcro around the Y clip to secure the weight in place.
-
-
-
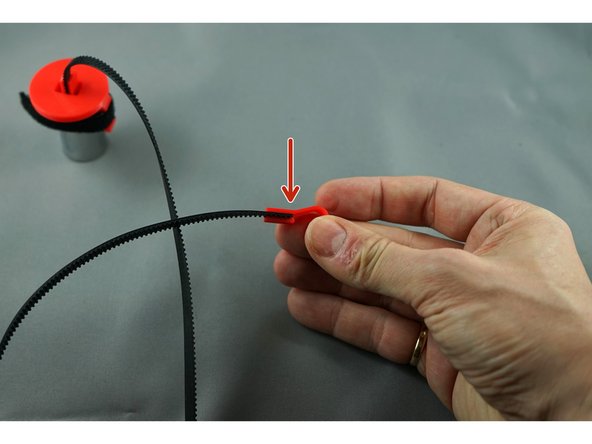
Press the other end of the belt into the hook.
-
Make sure the last tooth of the belt is in the last tooth of the hook.
-
We use a robot to measure and cut belt precisely, so these press-fits have to be right for quality drawings.
-


Remember to do this once for each belt on a Makelangelo robot. Then wrap the belts around the weights and put them in a box for shipping.
Remember to do this once for each belt on a Makelangelo robot. Then wrap the belts around the weights and put them in a box for shipping.
Cancel: I did not complete this guide.
One other person completed this guide.
