Difficulty
Moderate
Steps
9
Time Required
00:10:00 - 00:15:00
- Makelangelo V.5 Assembly Guide 9 steps

In Progress
This guide is currently being written. Reload periodically to see the latest changes.
Quiz
0
Parts
No parts specified.
-
-
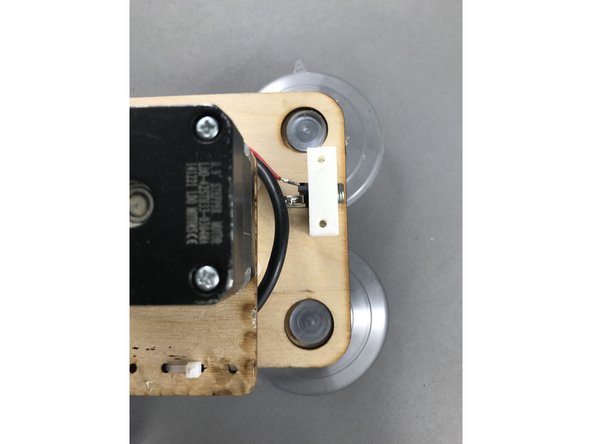
Insert 4 suction cups (2 on each side) in the main wooden board by applying pressure and twisting as shown in the picture.
-
-
-
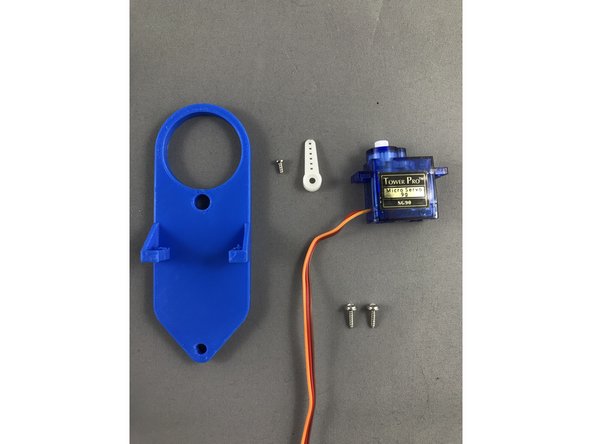
If your model doesn´t come with mounted servo, just follow these easy steps
-
-
-
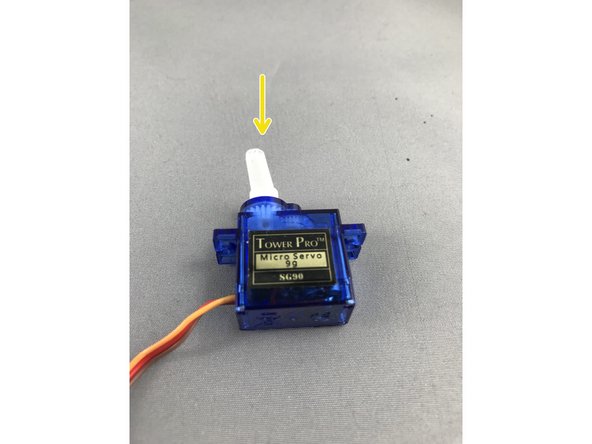
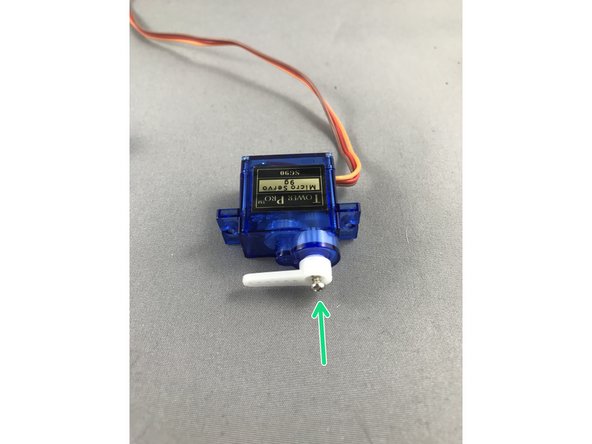
Fisrt of all, put on a servo arm, doesn´t matter in which position servo currently is
-
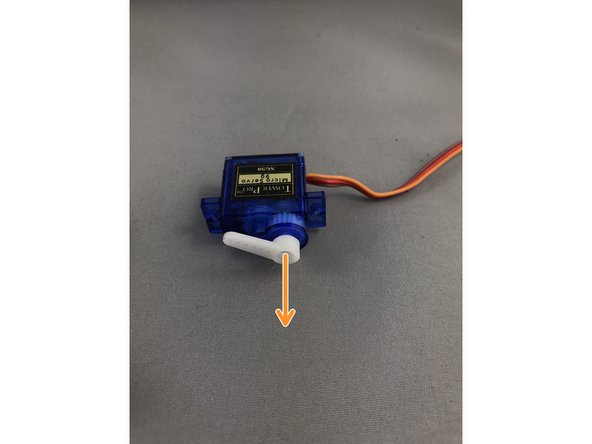
Turn the servo motor gently to the left, until it hits restriction point. Then remove servo arm.
-
install the arm so it is parallel with the servo, refer to picture 3, and lastly, insert little screw to secure servo arm.
-
-
-
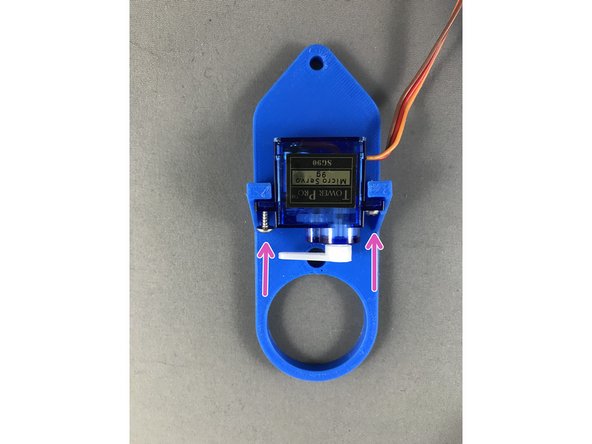
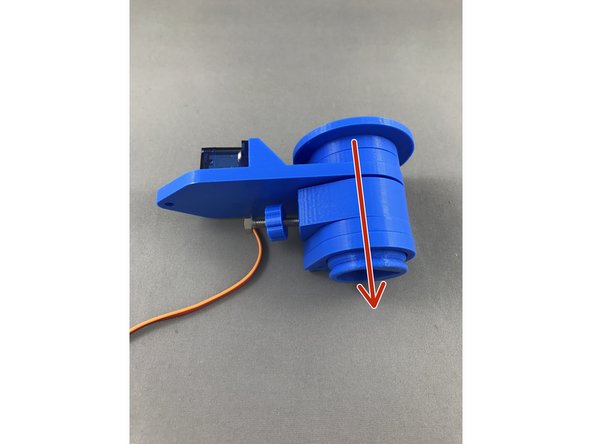
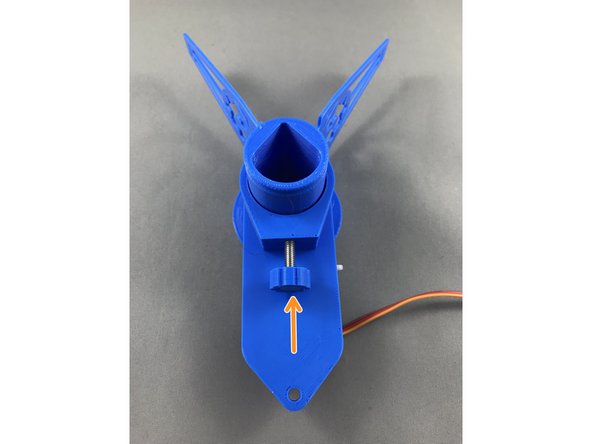
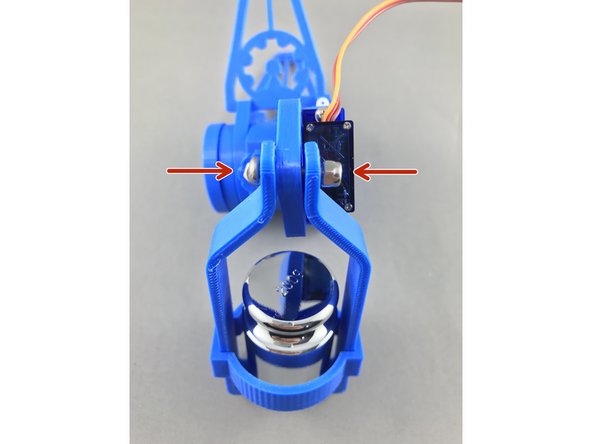
Position the servo as it is in the picture and insert 2 screws and tighten them snug.
-
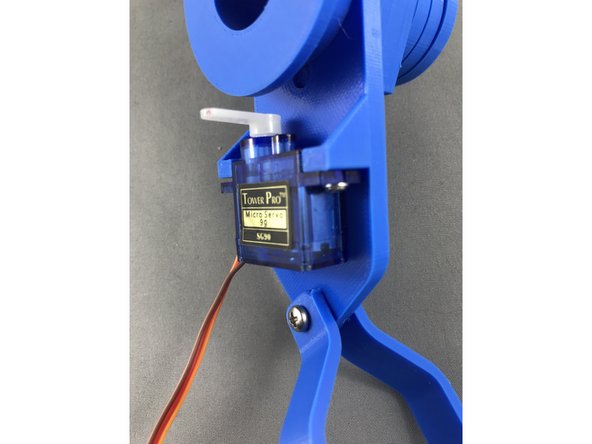
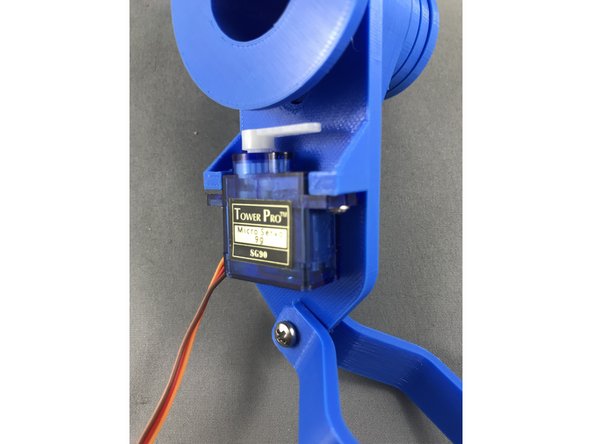
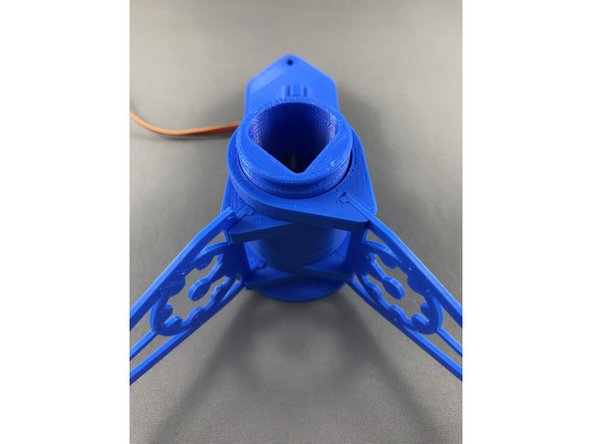
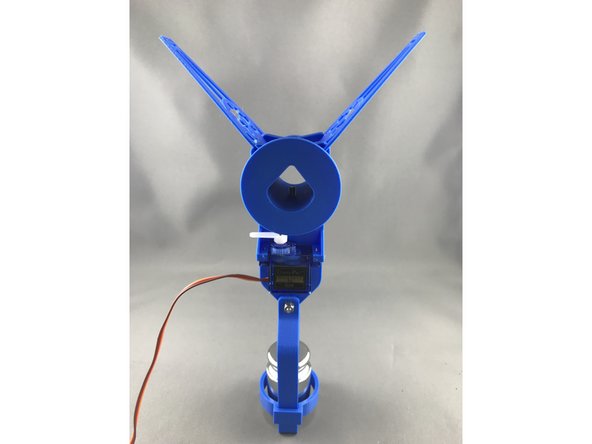
Final positions of extented and retracted servo are shown in picture 2 and 3.
-
-
-
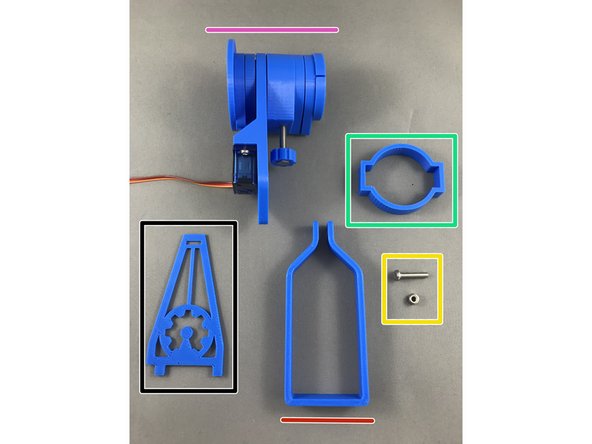
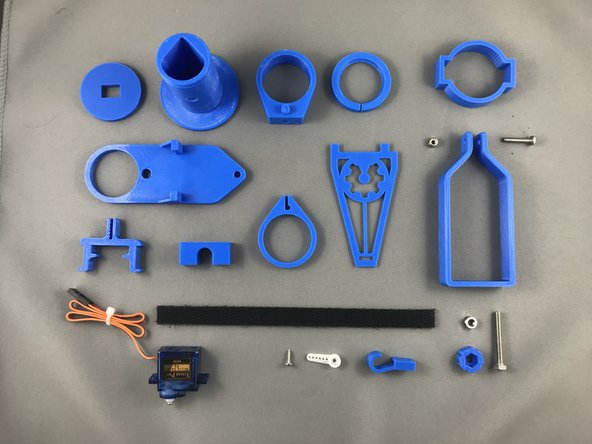
1. Gather All parts you will need for pen holder assembly
-
Take the retaining ring (Pink) and remove the securing clip. Use the screwdriver to make your life easier.
-
-
-
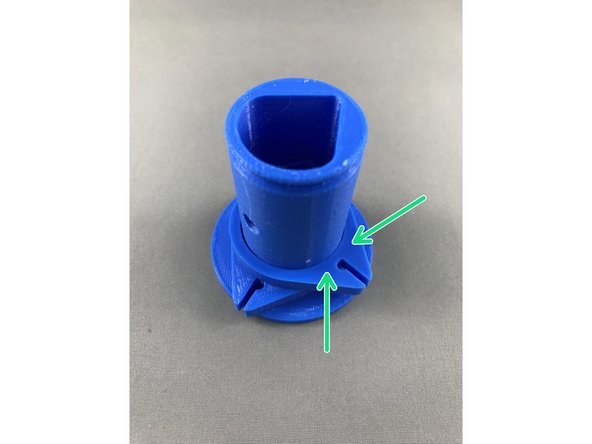
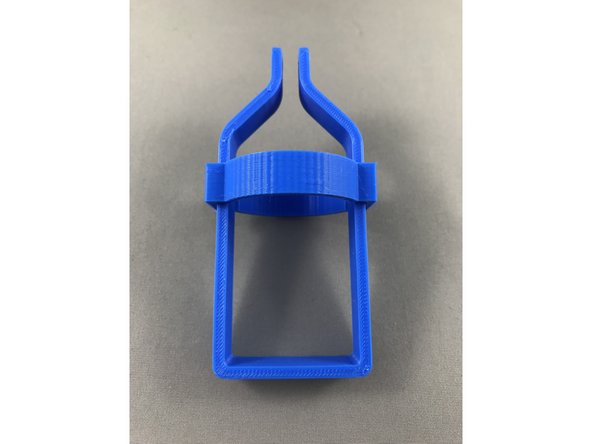
Slide all parts out, leave only 2 arm fittings on the bottom as shown in picture 2.
-
Notice there might be a few rough spots on the arm connecting rings, especially on interfering surfaces. It is highly recommended to sand down the surface if you have issues with smooth running! Surface is highlited on 2nd picture with green color!
-
-
-
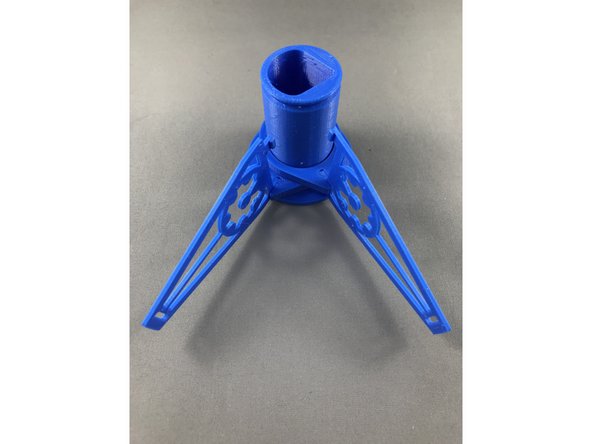
4. Insert arms (Black) as shown in step by step pictures, align them so they fit snug at the end of the pen holder.
-
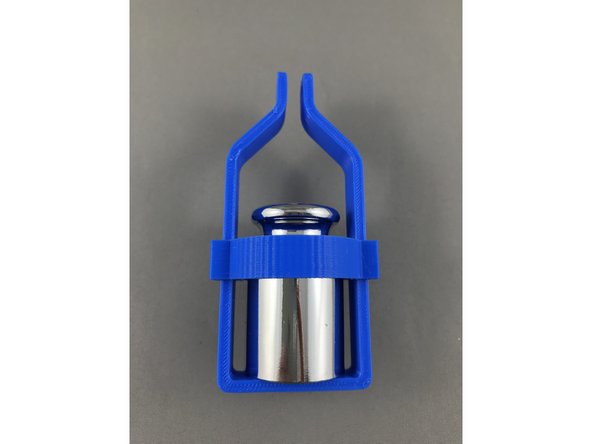
Slide servo piece together with pen securing screw onto the pen holder. Tighten up the screw afterwards.
-
Slide in other two arm fittings onto pen holder and connect with aligned arms.
-
Make sure the servo
-
-
-
slide the weight securing clip (Green) onto the weight holder (Red)
-
Insert 200g weight provided in the box
-
-
-
slide in the M3x15 connecting pen holder itself with the weight and secure with nylock M3 nut (Yellow)
-
Pen holder assembled!
-