Parts
No parts specified.
-
-
Locate the mounting plate
-
The servo
-
The one arm servo horn
-
The servo horn screw
-
Two servo mounting screws
-
The servo parts should all be in the same bag as the servo, along with a few horns that we do not use.
-
-
-
Attach the servo to an Arduino and drive the output gear to 90 degrees.
-
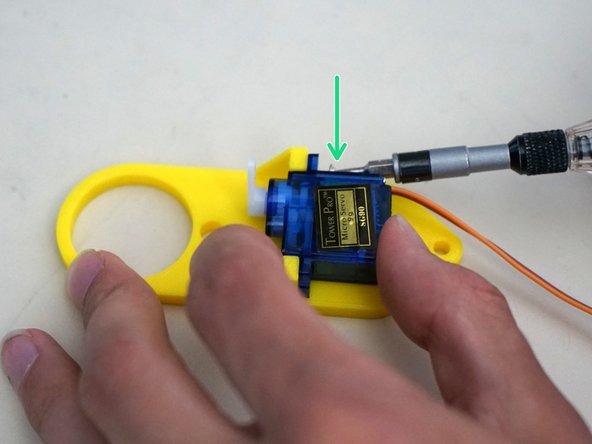
Press the one arm servo horn on to the output gear perpendicular to the servo body.
-
Use a Phillips (x) screwdriver to attach the servo horn onto the servo output gear with the servo horn screw.
-
-
-
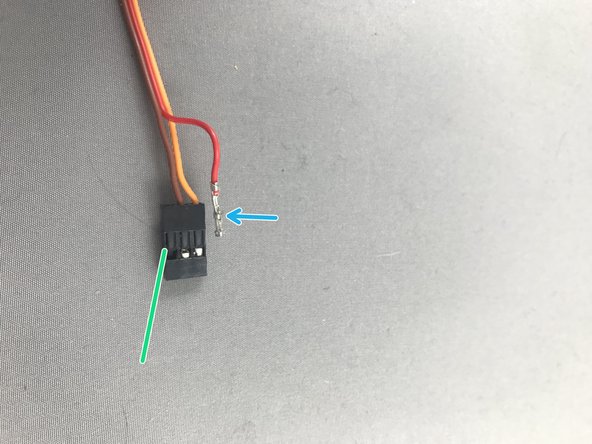
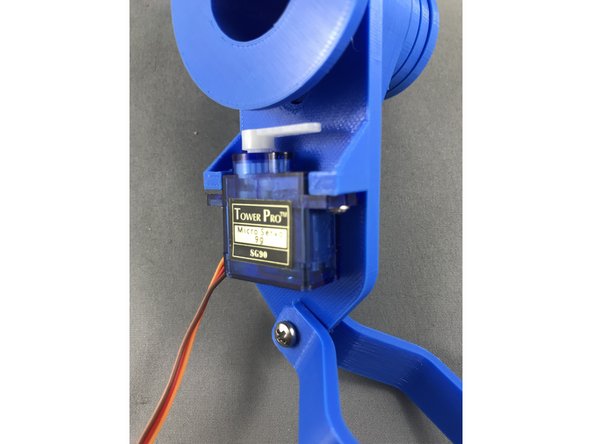
Servo cables must be in this order: Orange, Brown, Red. Always check the position of servo cables before running Makelangelo!
-
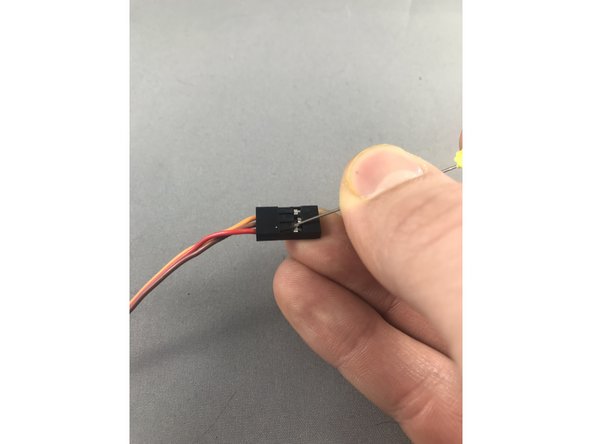
While gently pulling on the red wire, slide a sewing pin under the hook of the black JST header to carefully lift and release the crimp pin. When you get it right the crimp pin will slide out. Lifting too hard can break the hook so be gentle!
-
Note which side is up on the pin - there is a tong that catches on the hook.
-
Once both crimp pins are released, reinsert them with the new order. Be sure to keep the tong on the up side to catch on the hook.
-
-
-
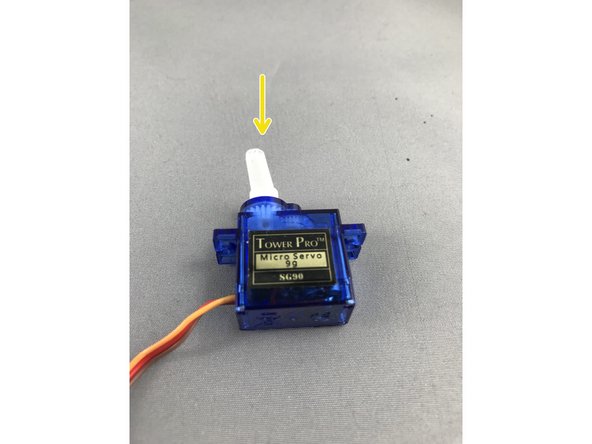
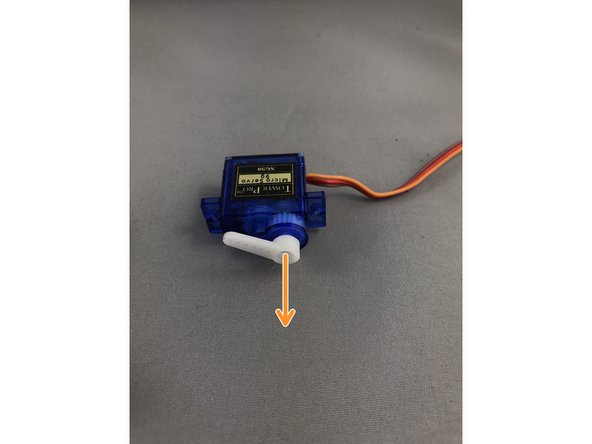
Press the servo horn onto the output shaft.
-
Turn the servo motor gently to the left, until it hits restriction point. Then remove servo arm.
-
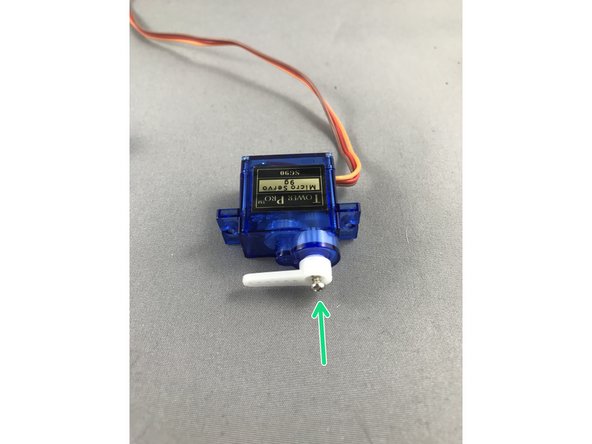
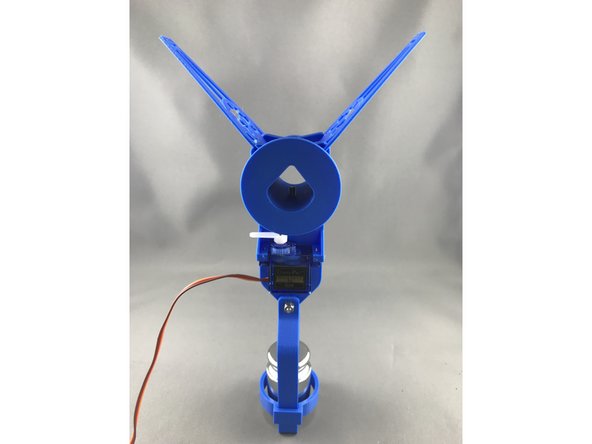
install the arm so it is parallel with the servo, refer to picture 3, and lastly, insert little screw to secure servo arm.
-
-
-
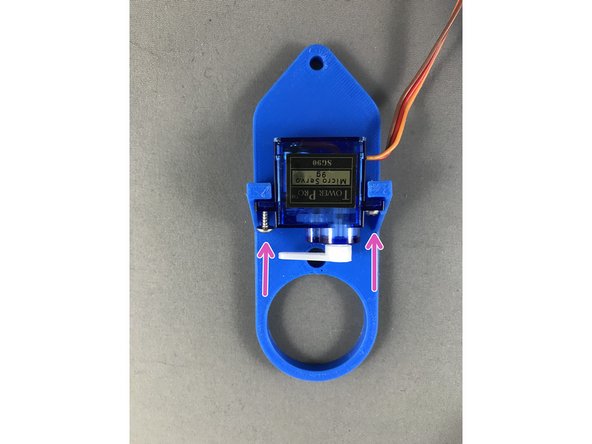
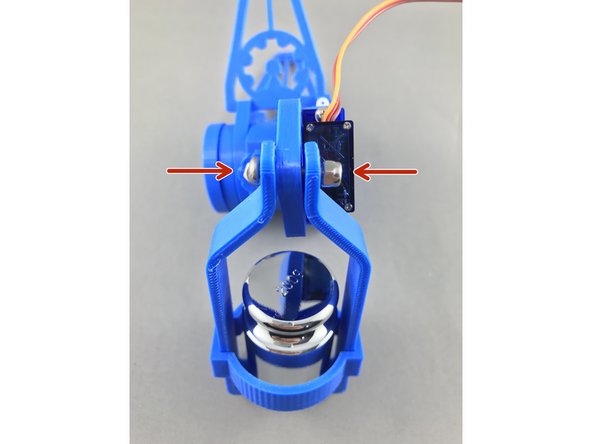
Position the servo as it is in the picture and insert 2 screws and tighten them snug.
-
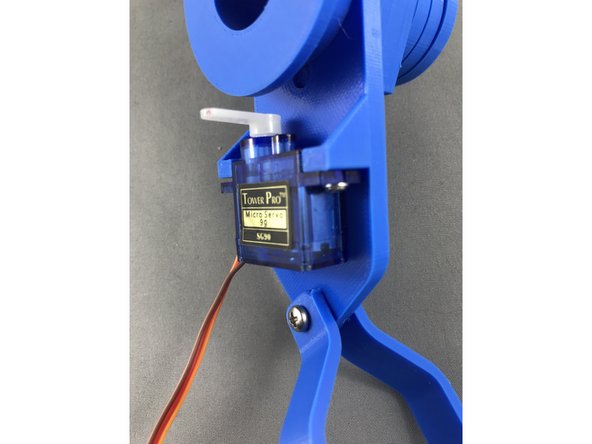
Final positions of extented and retracted servo are shown in picture 2 and 3.
-
-
-
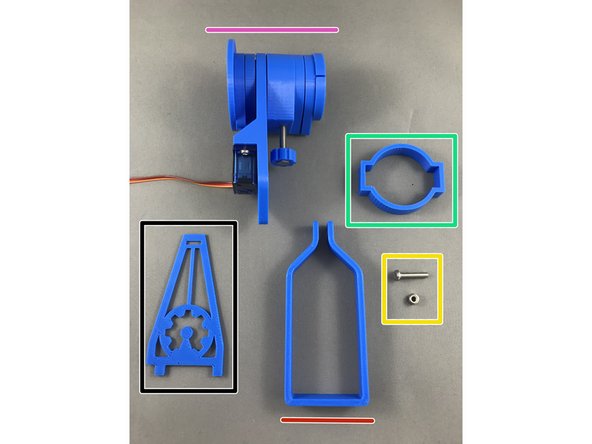
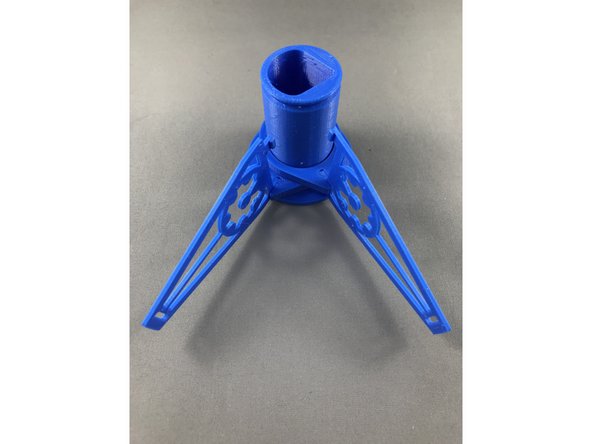
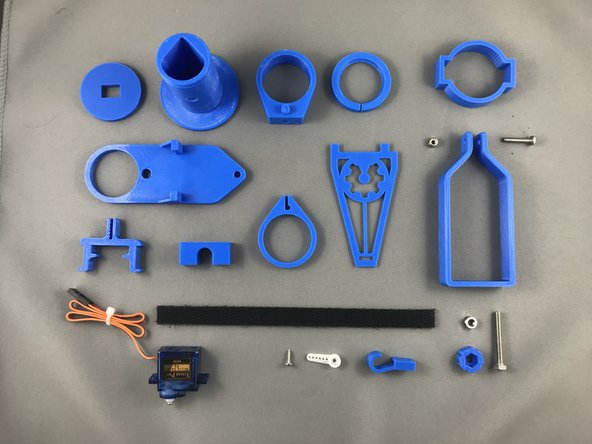
1. Gather All parts you will need for pen holder assembly
-
Take the retaining ring (Pink) and remove the securing clip. Use the screwdriver to make your life easier.
-
-
-
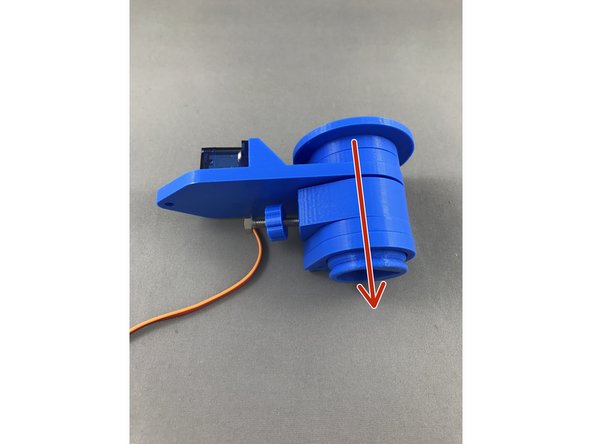
Slide all parts out, leave only 2 arm fittings on the bottom as shown in picture 2.
-
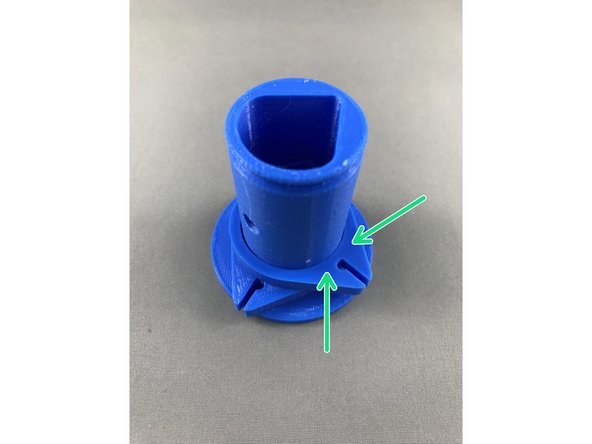
Notice there might be a few rough spots on the arm connecting rings, especially on interfering surfaces. It is highly recommended to sand down the surface if you have issues with smooth running! Surface is highlited on 2nd picture with green color!
-
-
-
4. Insert arms (Black) as shown in step by step pictures, align them so they fit snug at the end of the pen holder.
-
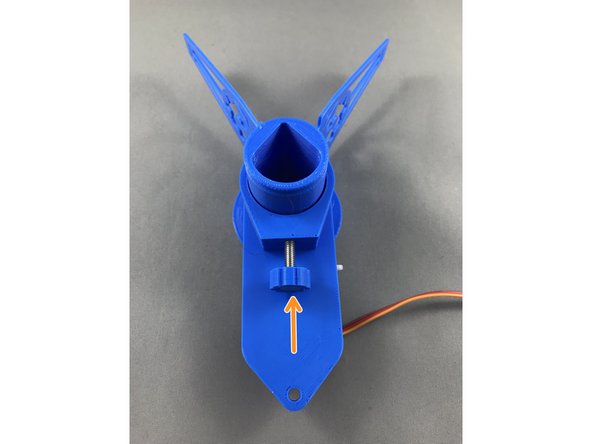
Slide servo piece together with pen securing screw onto the pen holder. Tighten up the screw afterwards.
-
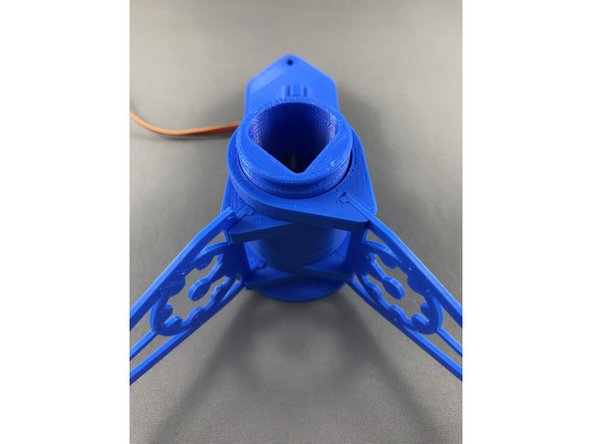
Slide in other two arm fittings onto pen holder and connect with aligned arms.
-
Make sure the servo
-
-
-
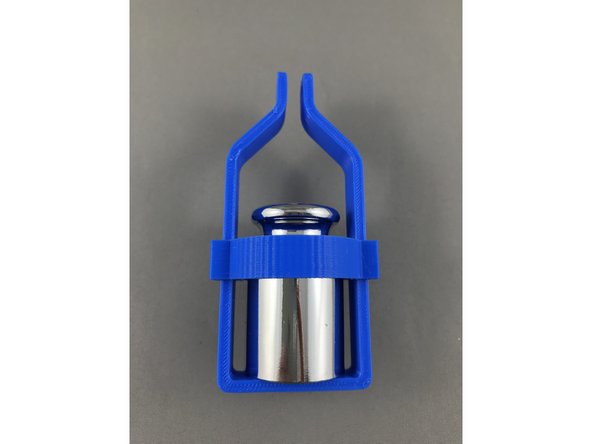
slide the weight securing clip (Green) onto the weight holder (Red)
-
Insert 200g weight provided in the box
-
-
-
slide in the M3x15 connecting pen holder itself with the weight and secure with nylock M3 nut (Yellow)
-
Pen holder assembled!
-