Introduction
There is more than one way to Prepare art and more than one way to Run the robot. It's OK to skip some steps.
-
-
I don't have a picture for this. Please enjoy this Mona Lisa.
-
Java can be downloaded from https://www.java.com/en/download/
-
Makelangelo Software can be downloaded from https://www.marginallyclever.com/product...
-
-
-
If you are on Windows, please make sure you already have the drivers for the RUMBA board from https://reprap.org/wiki/RUMBA#RUMBA_USB_...
-
-
-
Double click on the app in your PC.
-
Some windows users may need to click the start windows.bat file instead.
-
-
-
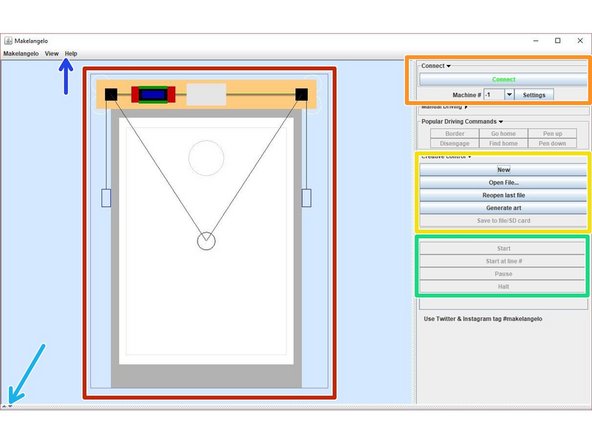
In the main window you can drag to pan and scroll the mouse wheel to zoom the what you see is what you get preview.
-
The Connect panel is like a phone call from your PC to your robot and allows for direct control.
-
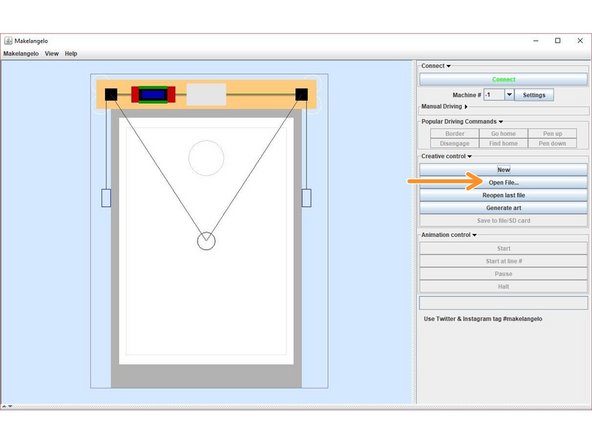
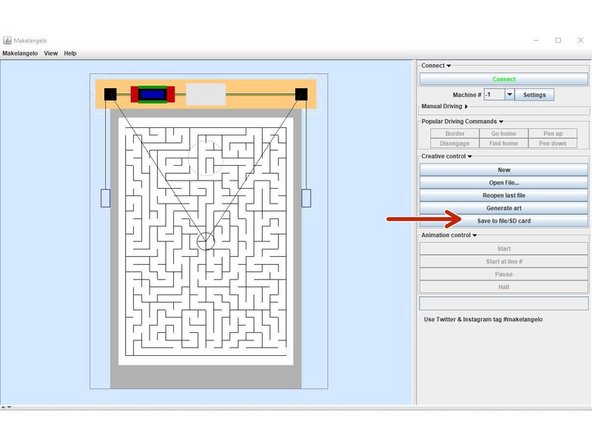
The Creative control panel is for managing art that will be drawn by the robot.
-
The Animation control panel is also used for direct control of the robot: start, stop, pause, etc.
-
The advanced dialog at the bottom shows the conversation with the robot and gives you a way to directly type commands in text.
-
The top level menu has helpful links to the support forums and more configuration options.
-
-
-
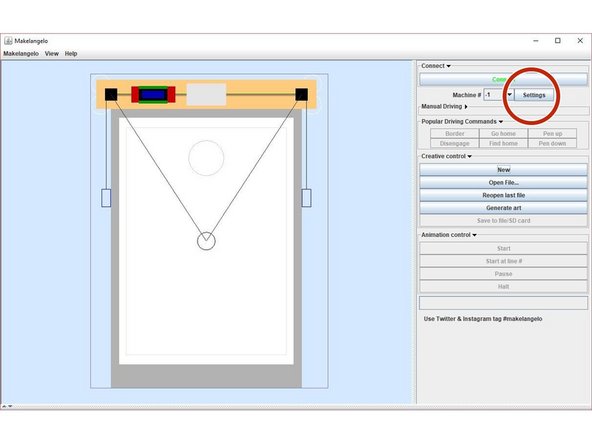
Click the Settings button.
-
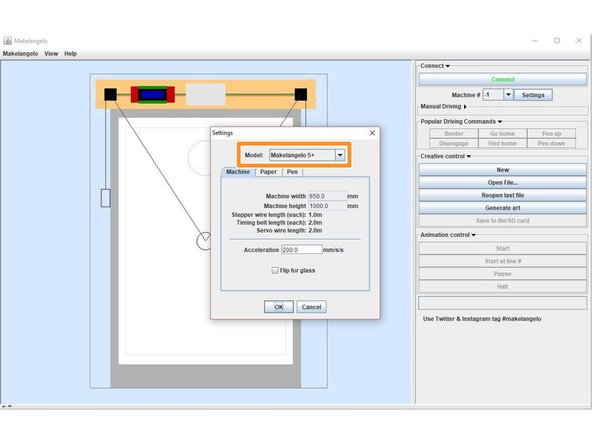
Change the Model to your machine version.
-
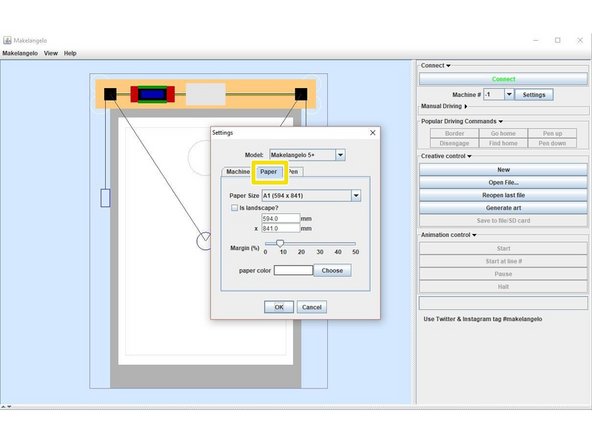
Click Paper and then change the Paper Size, Is Landscape, and Margin to match your preferences.
-
A Makelangelo 5 can draw A1 portrait, A2 landscape.
-
Close the settings dialog by clicking 'OK'. You are now ready to prepare a drawing.
-
-
-
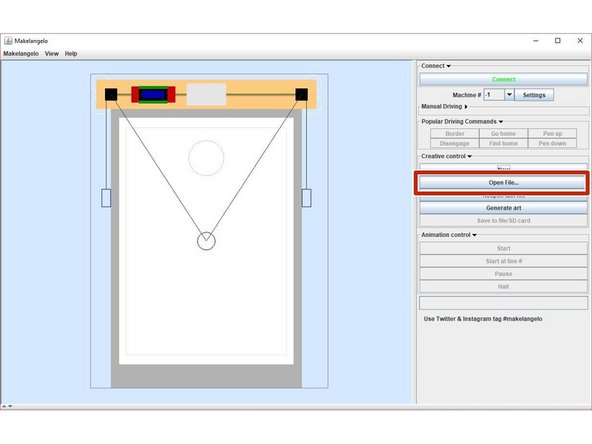
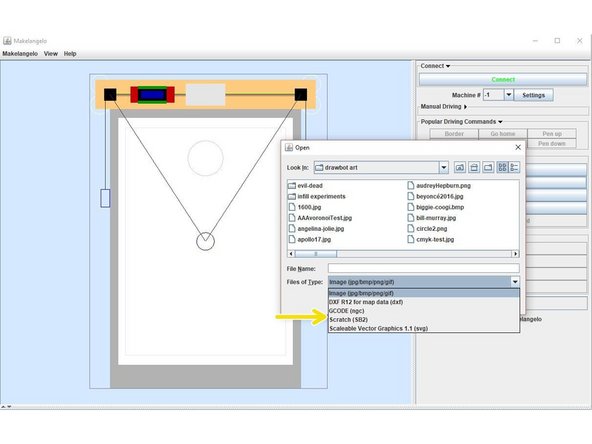
Click Open File....
-
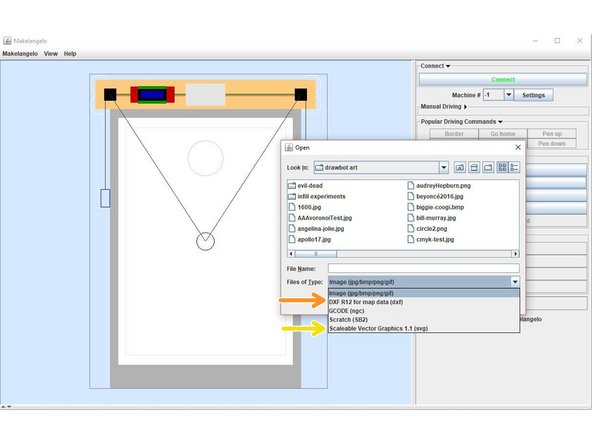
At the bottom of the save dialog change the Files of Type to Image. Select your jpg, png, bmp, or gif.
-
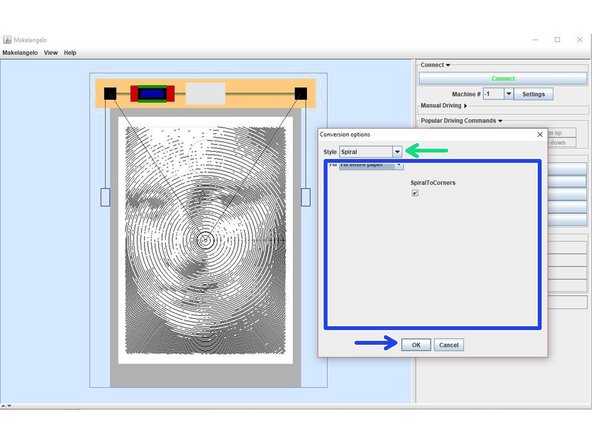
Play with Conversion Options until the preview looks appealing. There are several major styles.
-
Some styles are iterative and take time to generate results - let them run until you are satisfied. Others may have sub-options for tweaking.
-
Close the Conversion Options dialog. Your image is ready to Run.
-
-
-
Click Open File....
-
At the bottom of the save dialog change the Files of Type to DXF R12 for map data (dxf). Select your file.
-
DXF may offer to optimize on load. This will greatly improve your drawing time AND will take longer to load your file. Choose wisely.
-
Another option is Scalable Vector Graphics 1.1 (SVG). SVG files are automtically scaled to fill the margins of the paper.
-
Your image is ready to Run.
-
-
-
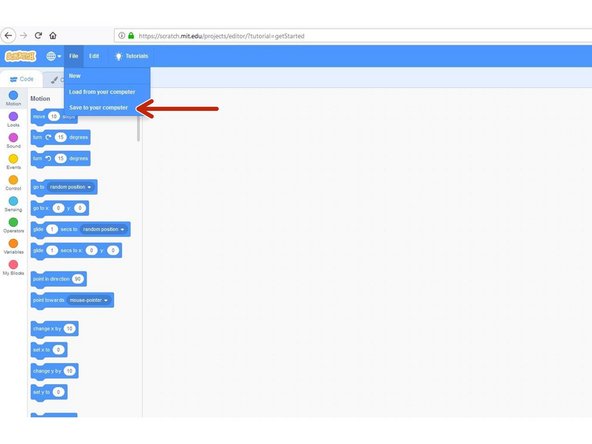
Build your Scratch drawing at https://scratch.mit.edu/.
-
Click File > Save to your computer.
-
In Makelangelo Software, Click Open File....
-
At the bottom of the save dialog change the Files of Type to Scratch (SB2). Select your file.
-
Your image is ready to Run.
-
-
-
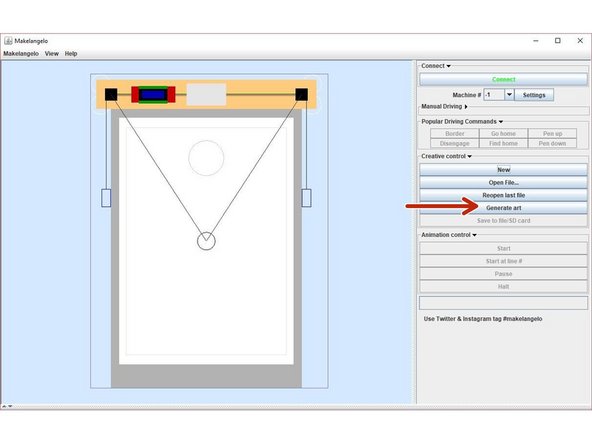
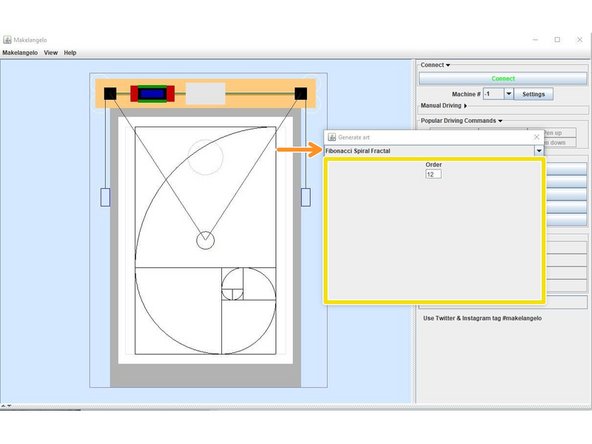
Click Generate Art.
-
From the first drop down, select a style of art to generate.
-
Adjust any additional parameters. After changing a parameter you may need to press the Tab key to see changes in the preview window.
-
Close the additional parameters dialog. Your image is ready to Run.
-
-
-
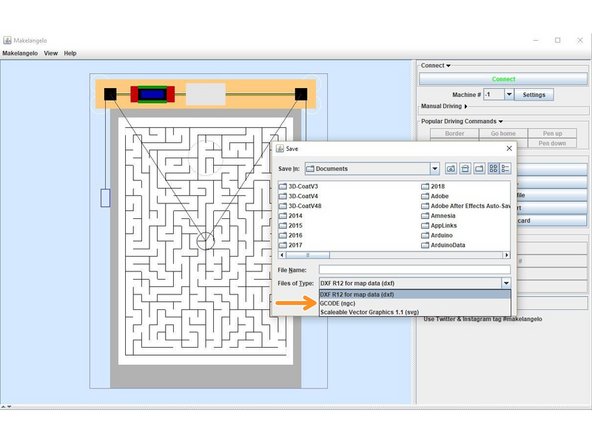
Put your SD card in your computer and click save to file/SD card in the Makelangelo Software.
-
At the bottom of the save dialog change the Files of Type to GCODE (ngc). Save your file to the SD card.
-
Eject the SD card and plug it into the robot on the left side of the LCD panel.
-
Click the dial, scroll down to print from SD card, click again, scroll to the file, and click one more time. Follow the prompts on the LCD panel.
-
Don't forget to Find home on the robot before starting your drawing! Find home can also be done through the LCD menu.
-
-
-
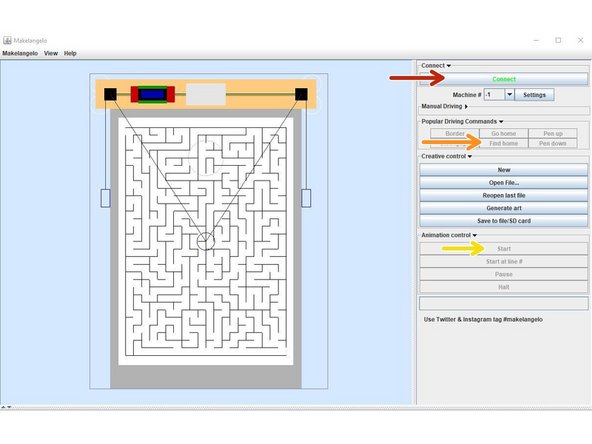
Plug the a USB cable from the robot into your PC running Makelangelo Software.
-
Click Connect and choose one of the USB ports. After a few seconds the buttons under connect should turn from grey to black.
-
If there are no ports, refer to the Updating Makelangelo firmware guide steps for updating the USB driver.
-
Click find home. The weights will move up until they touch the switches next to each motor. Then the pen holder should move back to a point ~20cm below the center of the machine.
-
Click Start. Follow the prompts on the LCD panel.
-
-
-
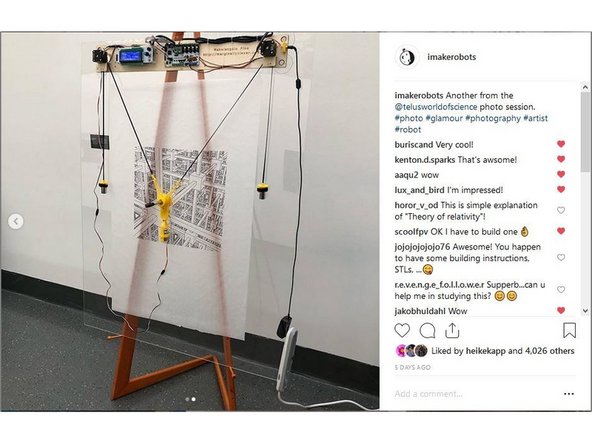
Take a picture.
-
Post it on social media. #plottertwitter is a great tag to use!
-
Tag your post #makelangelo or @imakerobots so we can +1 like kudos it.
-